
33 Jaw-Dropping DIY Christmas Village Ideas You Absolutely Need to Try for 2026
Christmas village displays are having a serious moment on Pinterest right now — and the ones getting saved aren’t the $900 department store sets. They’re tabletops, windowsills, and one really good ceramic house sitting on a wood slice with a single strand of warm light.
We spent weeks combing through Target, Etsy, Michaels, Walmart, and Facebook Marketplace to pull the 33 ideas actually worth your time, from a $12 luminary to a full $950 multi-tier build. Inside you’ll find traditional Victorian streets, pastel Scandinavian villages, handmade paper and wood scenes, and rustic cabin setups — budget versions and luxury versions compared side by side, with real numbers instead of vague encouragement.
The 2026 shift is tech, not taste: cheap warm-white battery LEDs and quieter small-scale motors mean you can run a lit, moving village without an extension cord crossing the floor. And stay until the end — we break down the most common mistakes that can ruin these looks.
📌 Save this to Pinterest for later — you’ll want to revisit these ideas. This post contains affiliate links, and if you buy through them we may earn a small commission at no extra cost to you.
1. A Faux-Snow Tabletop Village That Fits on a Side Table
A display this small lives or dies on contrast. The warm yellow window glow reads far brighter against flat white faux snow, so every house looks lit from inside even when the room lights are on. Repetition does the rest: the same evergreen silhouette, the same bulb temperature, repeated at slightly different heights until your eye reads one continuous town instead of a dozen separate pieces.
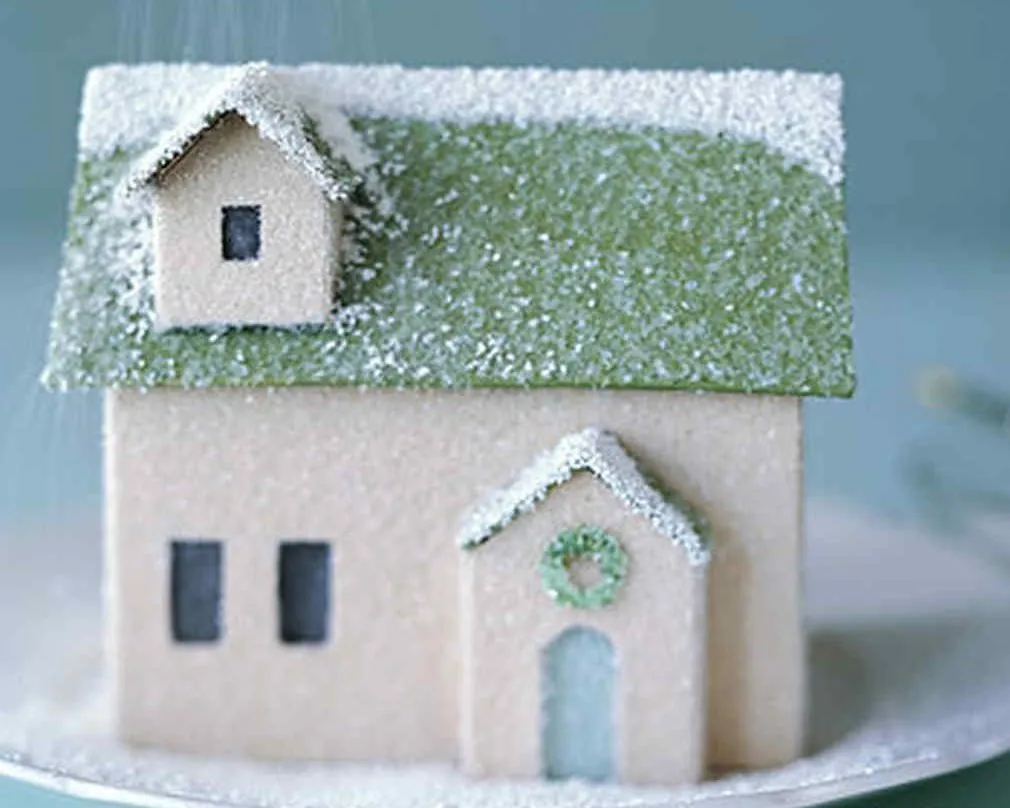
Keep every bulb in a single display at 2700K or warmer. Pairing a cool-white string with warm-white houses is the fastest way to make a nice village look like a clearance bin. Battery puck lights should face down into the snow so the glow bounces up onto the facades — aimed sideways, they just spotlight your ceiling and leave every roofline dark.
2. A Tiered Mountain Village Built for a Full Console Table
This tiered layout wants a run of at least six feet and 24 to 30 inches of depth — a console table, a sideboard, or a dining table pushed against a wall. You also need a power source within three feet, since most village lighting cords max out around four. Tighter on space? Look at Idea #17, which packs a similar effect into a sealed case about 20 inches wide.
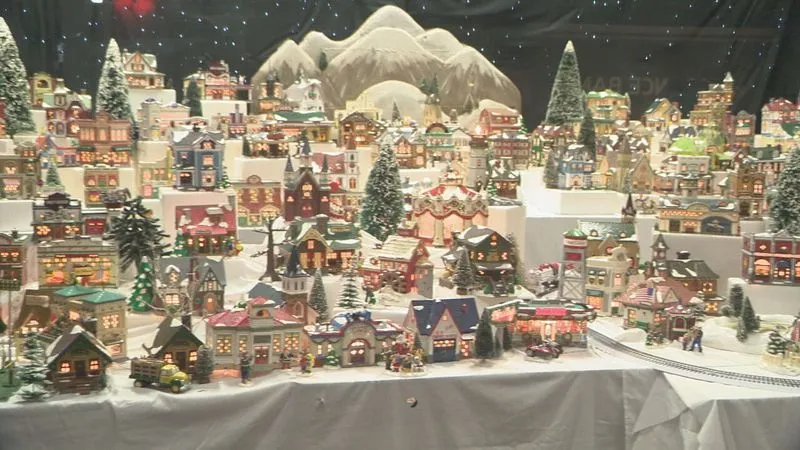
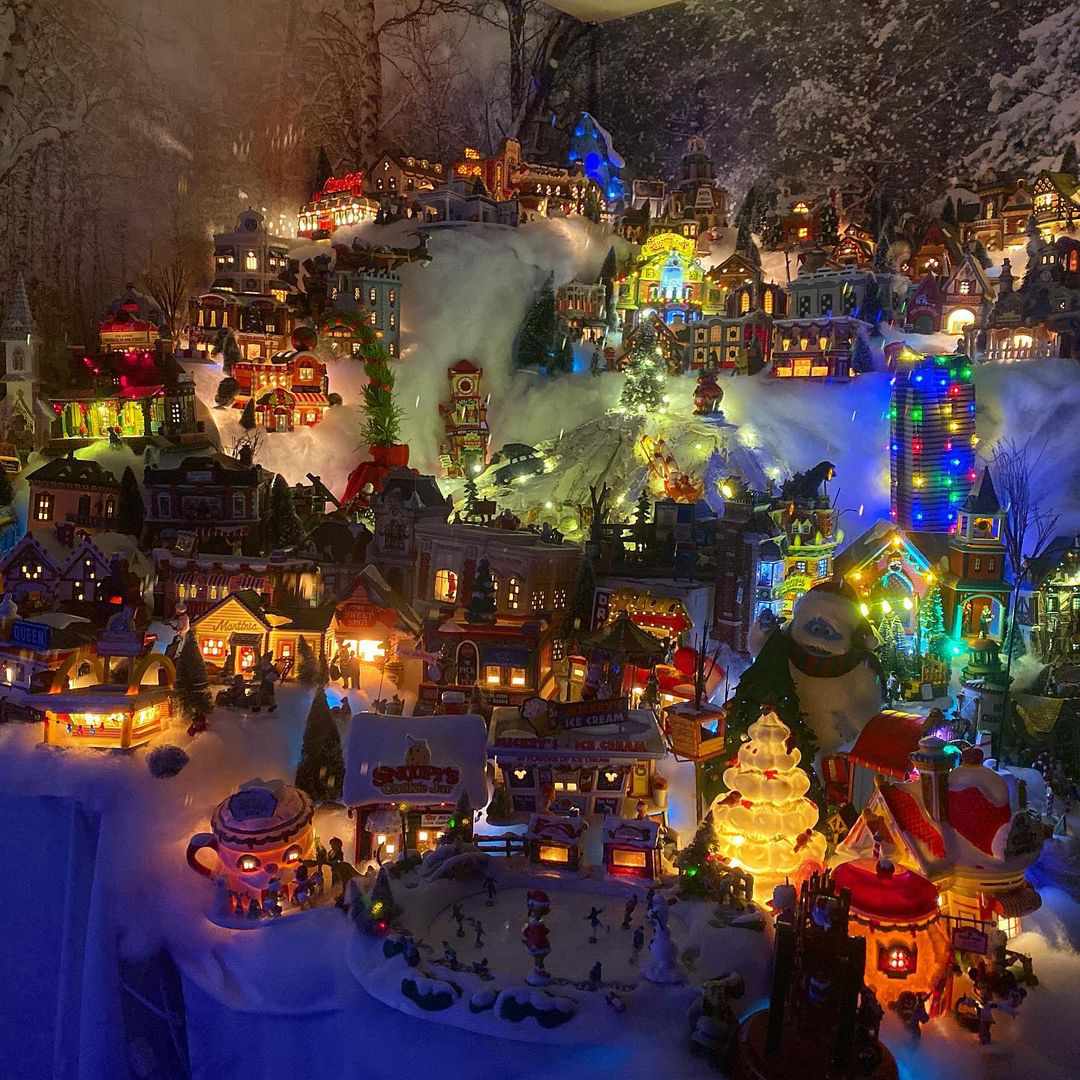
The tiered platforms are the whole trick. Without them, this becomes a flat row of houses all competing for attention at the same eye level. Stacked on risers under that dark starry backdrop, the village gets depth, the mountain peaks sit behind the rooflines, and each row throws light onto the one above it. Keep the risers white — anything darker steals the snow illusion.
3. One Ceramic House Luminary on a Green Textured Mat
- Ceramic house luminary: $18–$45
- Warm LED insert or tealight: $6–$14
- Dark green textured mat or runner: $12–$35
- Pinecones and greenery sprigs: $8–$20
- Red berry fillers: $5–$12
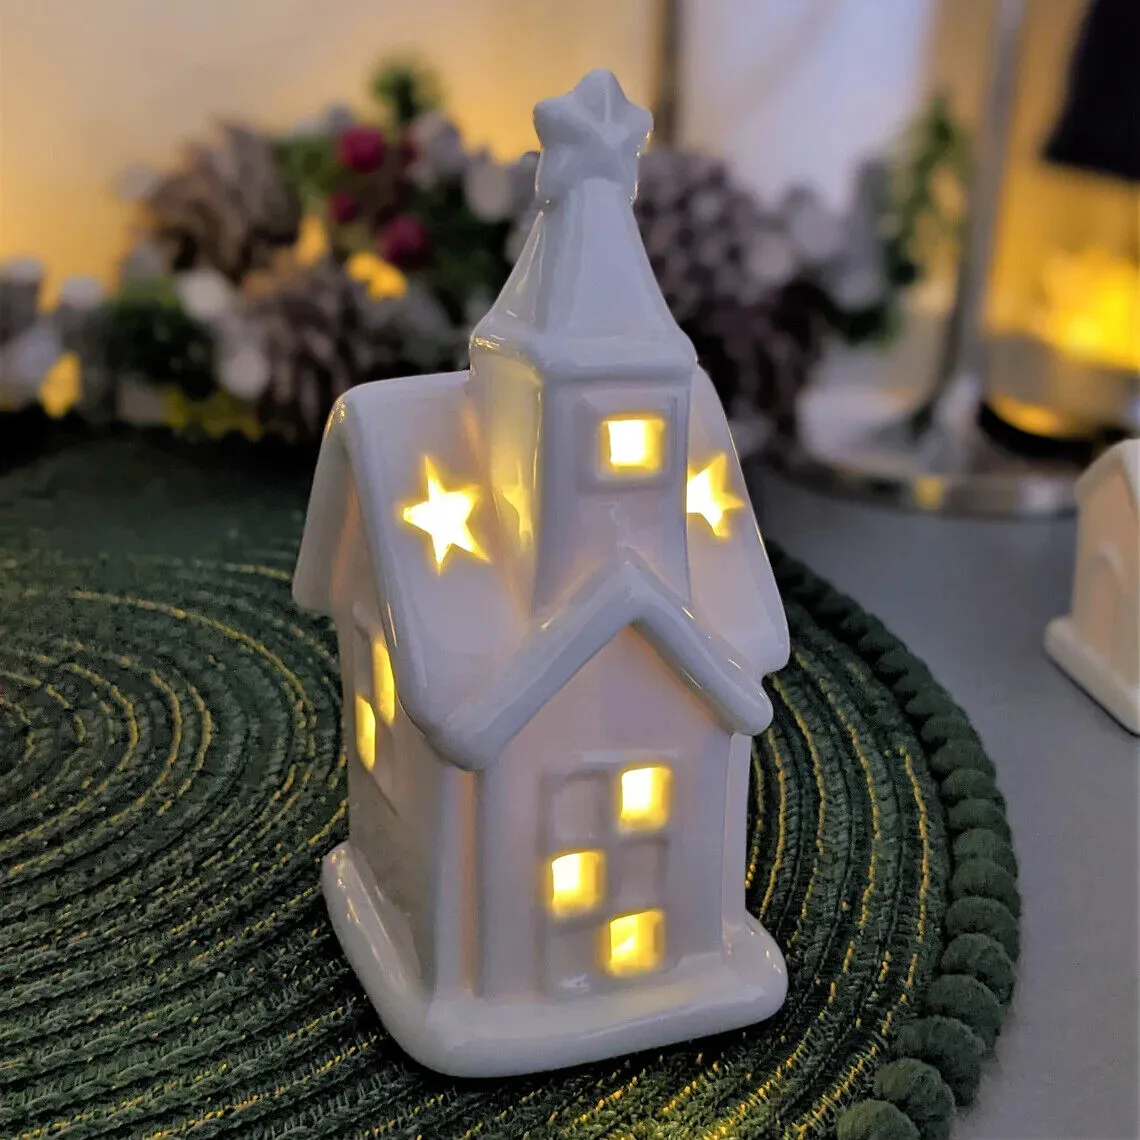
Total: $49–$126
Read this as 70% neutral white + 20% deep green + 10% warm light. The white house carries the shape, the green mat grounds it, and the glow is the only warm note in the frame. Swap the mat for charcoal felt and you get a moodier, more modern look; swap it for cream linen and the whole thing turns soft and Scandinavian. Hold that 70/20/10 split and it works either way.
Ceramic luminaries with cut-outs throw light in scattered fragments — charming up close, nearly invisible from across a room. If this is your only piece on a big mantel, it will read as a small glow rather than a feature. Put it on a side table, a shelf, or a nightstand where people actually get close, or cluster three together. Compare with Idea #9 if you want one piece with real presence.
4. A Train-Threaded Village With a Winding Track Loop
- Sketch the track path on paper first — a simple figure-eight or oval beats a tangle.
- Set the track on half-inch foam board so it sits level over uneven snow.
- Pile faux snow around the rails, not on them; leave a quarter inch of clearance.
- Test the train for a full loop before you add a single tree or figure.
- Bury the wires under the snow and run them all to one corner outlet.
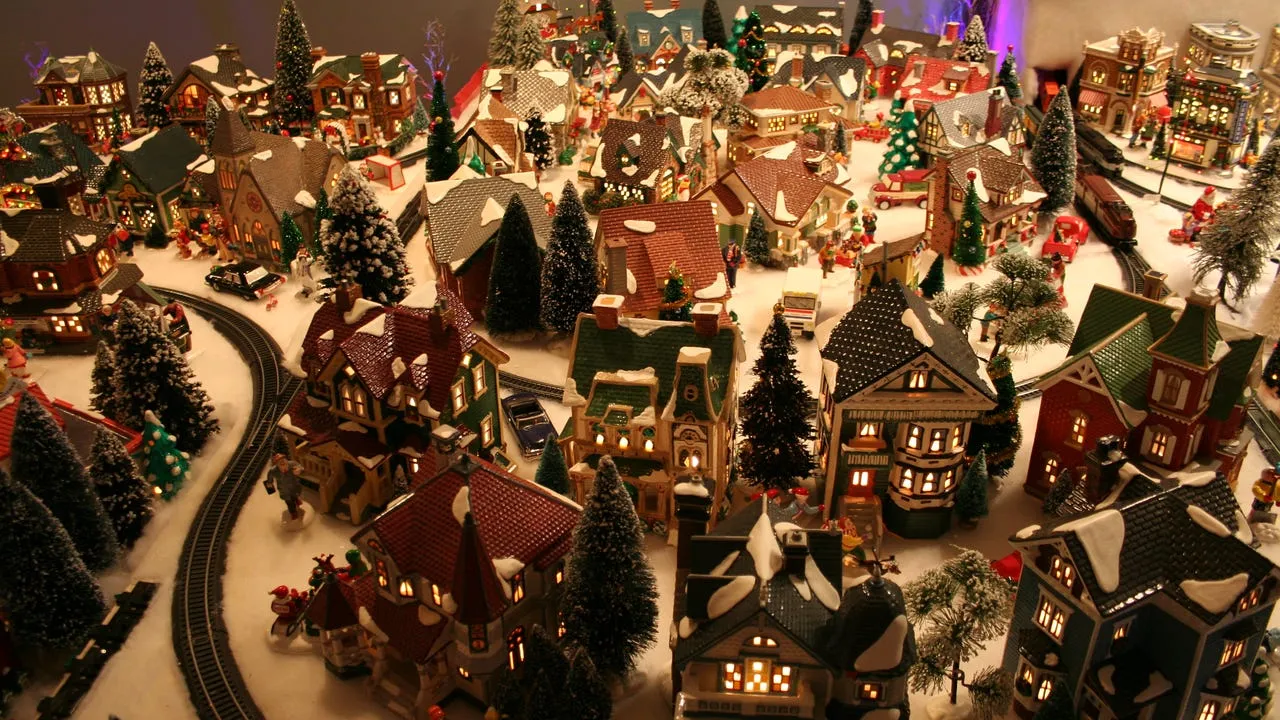
About two hours of work, and roughly $40–$90 on top of the village itself.
Train villages are back in 2026 for a reason that has nothing to do with nostalgia: cordless battery LEDs finally got cheap and good. You can run a lit train, glowing houses, and window lights on separate circuits without one extension cord stretching across the floor. That’s the shift that pushed these displays out of the basement and onto the console table.
5. Frosted White House, Red Truck, and Woven LED Lights
Three heights, no more. The tall bottle brush tree, the mid-height frosted house, and the low red truck do all the work here — add a fourth tier and the composition flattens out. Aim for roughly a 1:2:3 ratio between shortest, middle, and tallest pieces, and keep the whole thing inside a 14-inch footprint so the eye can take it in at once instead of scanning left to right.
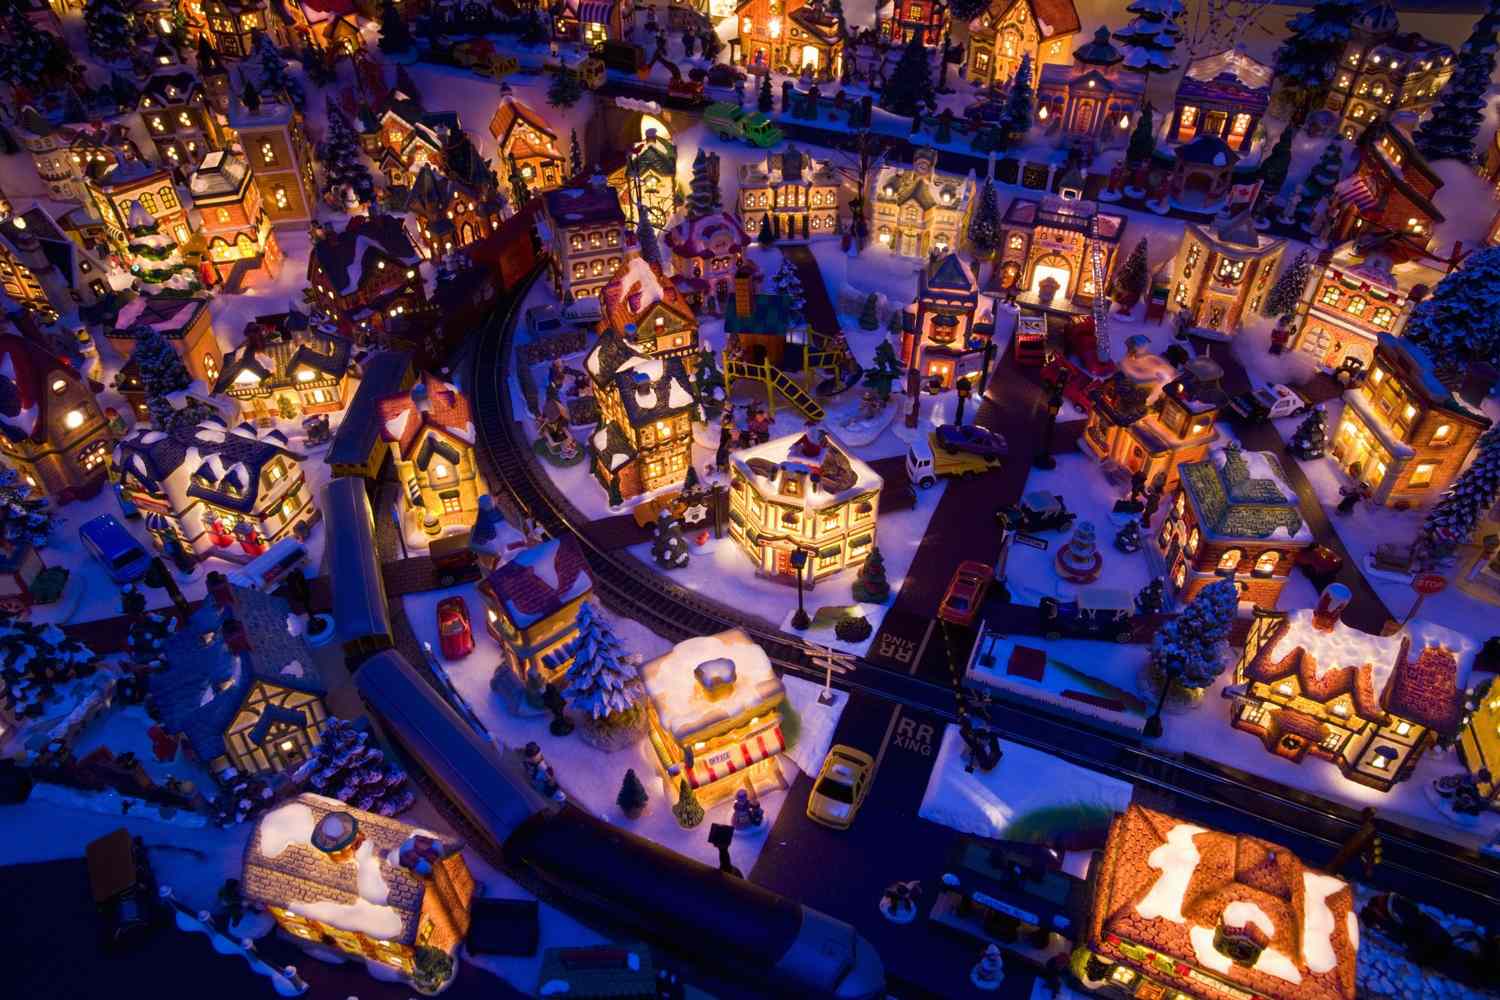
You don’t need a ceramic village set to get this look. A white dollar-store house, a wooden toy truck borrowed from the kid’s bin, and three bottle brush trees grabbed at Michaels during the November half-off sale lands around $22 total. Add a $6 battery strand of warm LEDs and you’ve got the same cozy, frosted energy for a fifth of the price. Thrift stores are goldmines for single ceramic houses — go in early November, before the resellers do.
6. Four White Ceramic Houses on Distressed Wood
It’s the distressed wood surface. Swap it for a white tablecloth and this becomes a generic holiday display; the pale raw wood gives the white ceramics something to sit against, and the subtle grain keeps the whole arrangement from feeling sterile. Four houses also beat one — the group reads as a street, and repeating the same cut-out window pattern is what makes it look intentional instead of collected.
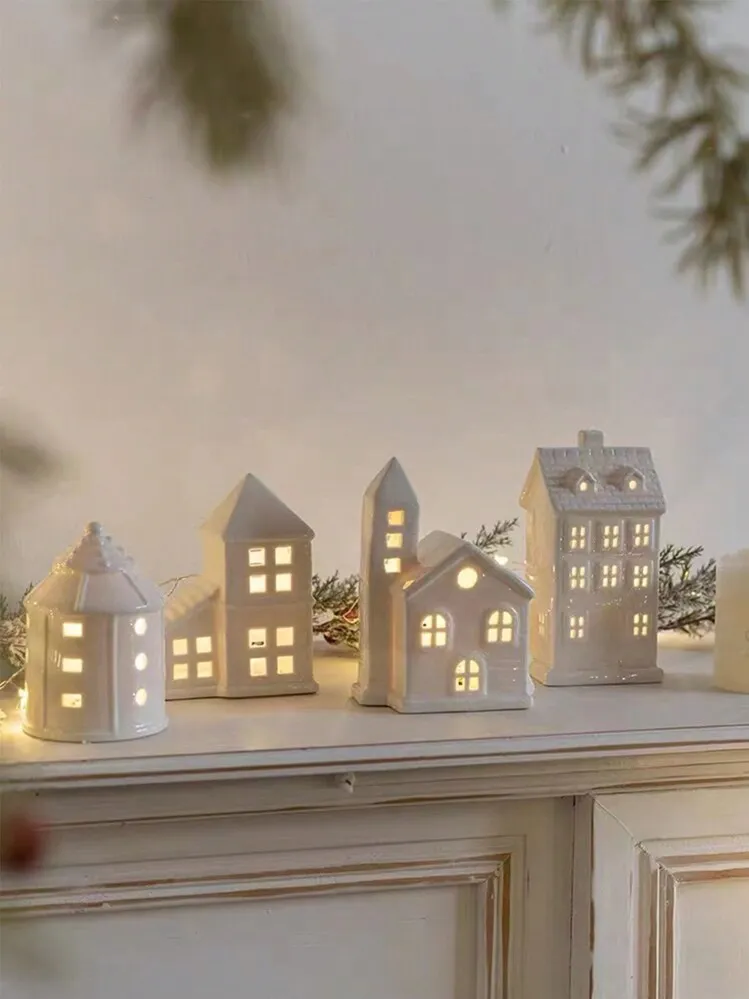
- Measure your surface depth — four houses need at least 14 inches front to back.
- Confirm an outlet or battery plan; there are four lights to power here.
- Check that the wood is sealed, or use felt pads to avoid moisture rings.
- Pick your light temperature before you buy anything, and stick to one.
7. Thick Snow, a Castle, and a Tiny Red Fire Truck
Thick loose snow means loose snow everywhere. Expect to vacuum or lint-roll the surrounding floor every two to three weeks through the season, and expect a few stray flakes in the carpet until March. Bag your faux snow in a zip bag at the end of the year instead of reusing the box — it picks up dust and turns grey fast. A vacuum hose with a pair of old pantyhose over the nozzle is the fastest cleanup trick there is.
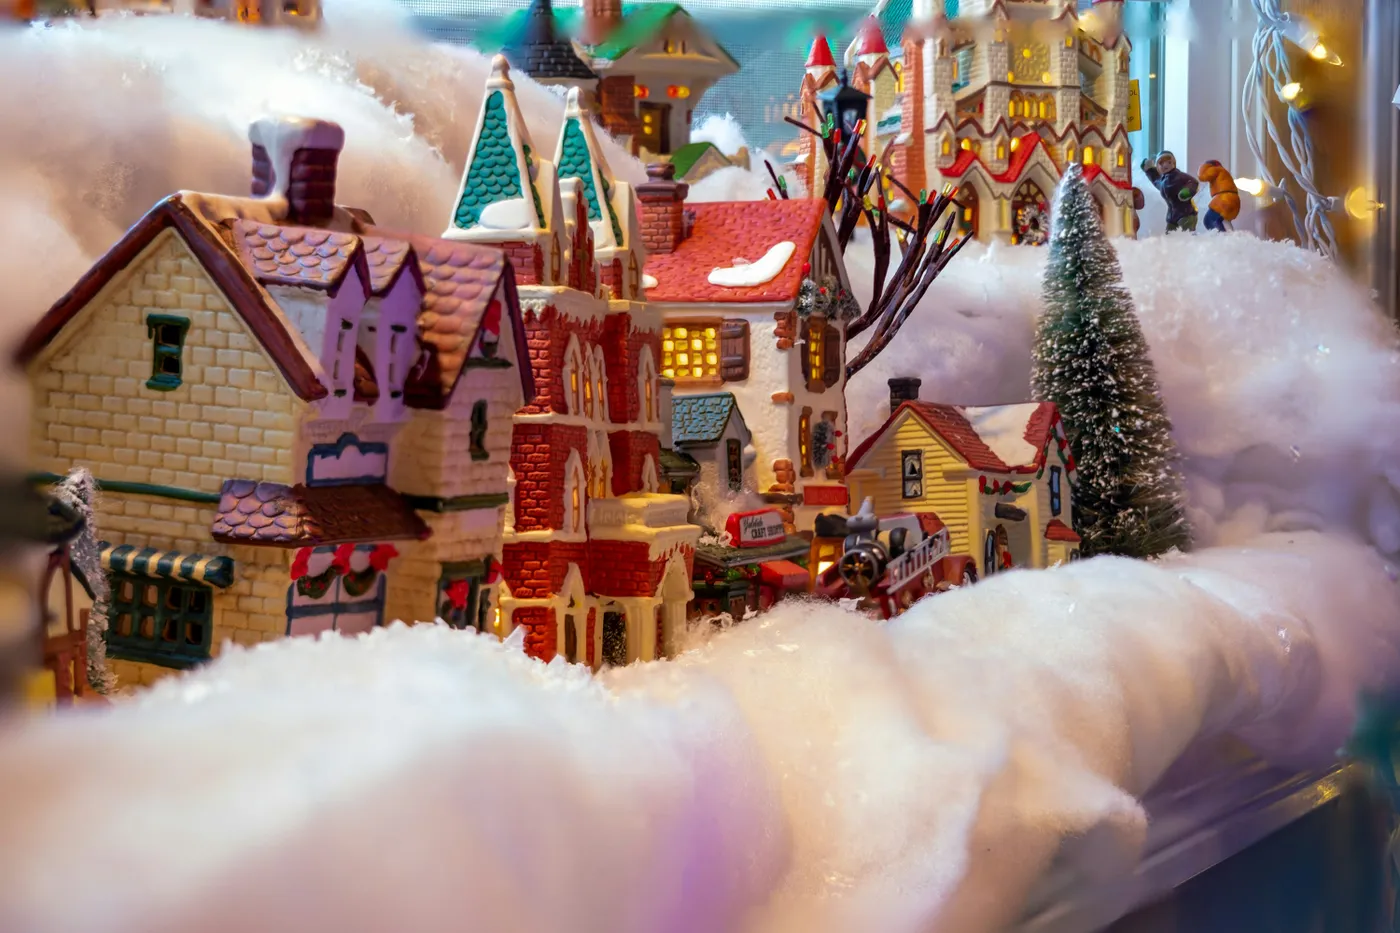
Two things make this read as a living town rather than a shelf of knickknacks. First, scale variety — a castle beside cottages beside a fire truck gives the eye somewhere to travel. Second, snow that isn’t uniform: thick drifts at the base, a light dusting on the roofs, bare branches poking through. Even snow reads as plastic. Uneven snow reads as weather.
8. Wooden Houses, Bottle Brush Trees, and a Red Toy Car
- Miniature wooden houses (set of 4–6): $25–$70
- Bottle brush trees (pack of 12): $12–$28
- Faux snow blanket or loose snow: $8–$22
- Small red toy car: $5–$15
- Warm battery string lights: $8–$18
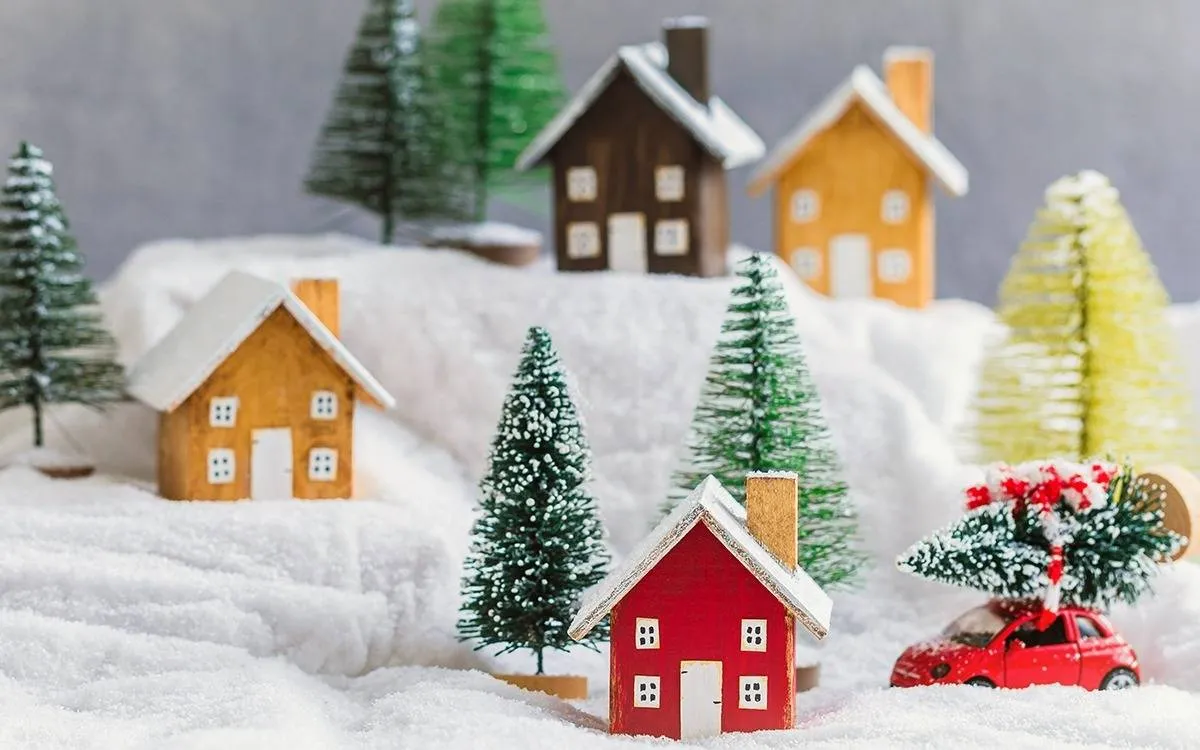
Total: $58–$153
Painting snowy roofs that actually look like snow:
- Mask the windows and doors with painter’s tape.
- Brush on a matte white craft paint in two thin coats, not one thick one.
- Before it dries, press fine white glitter along the ridge line.
- Let it cure for 24 hours, then peel the tape at a low angle.
Roughly 45 minutes of hands-on time plus drying, and about $9 in materials for six houses.
9. A Tea Shop Tower Lit Against Blurred String Lights
Blur the background on purpose. This vignette looks magical because the string lights behind the building are soft and out of focus, which pushes the tea shop forward. In real life that means placing your feature building six to ten inches in front of a wall of lights rather than flush against them. Depth is doing more work here than any single ornament. If you can dim the room to about 30% brightness, the effect doubles.
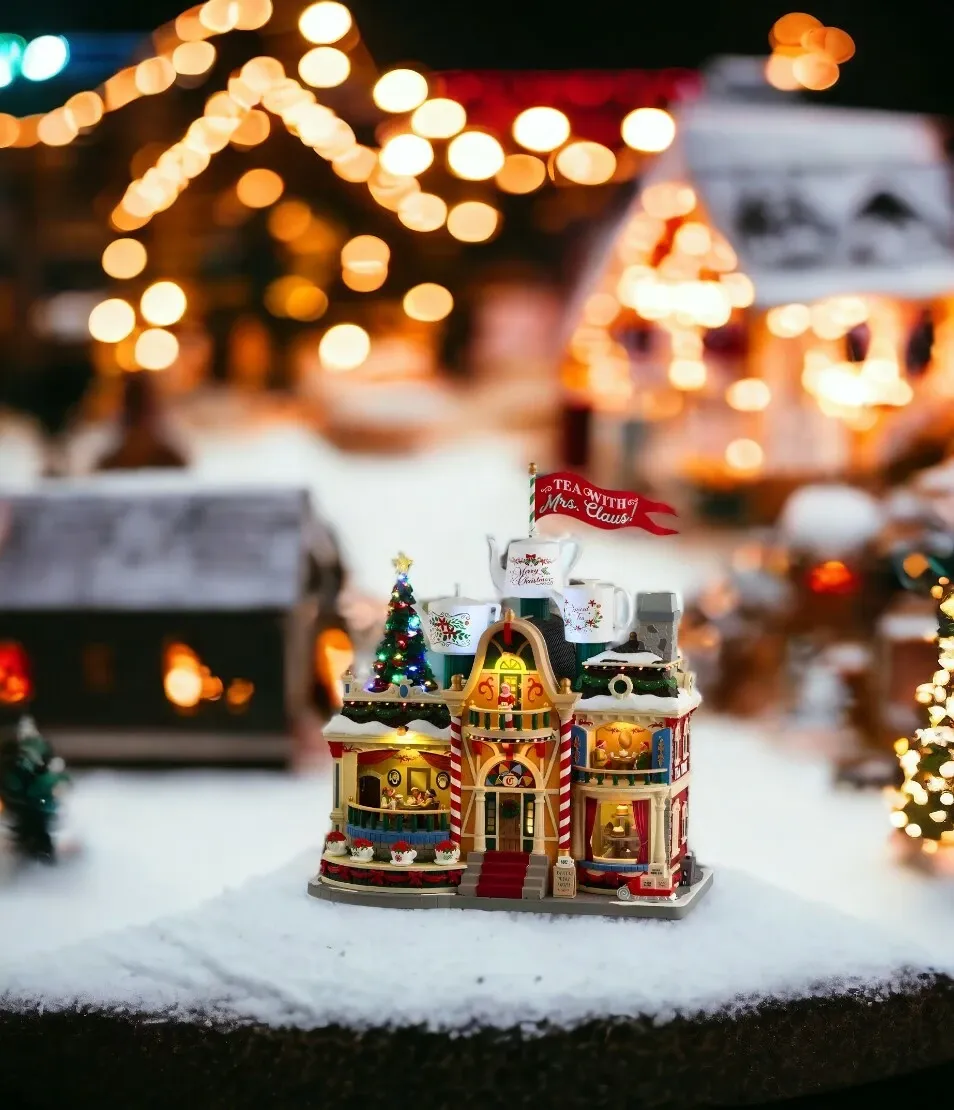
The palette is 50% white snow + 30% red + 15% deep green + 5% gold. That’s a classic holiday formula, and it’s why this reads traditional rather than trendy. To modernize it without losing the warmth, swap the red flag for forest green and drop the gold to brushed brass — same proportions, completely different decade. Change the ratio and you change the era.
Feature buildings are the most expensive piece per square inch in this entire hobby, and multi-story pieces are top-heavy. If yours sits on a shelf above a walkway, or anywhere a cat patrols, secure the base with museum putty. Also check the cord exit point before you buy — some illuminated buildings put the jack on the side that faces front, which ruins the illusion from your main viewing angle.
10. A Wine and Spirits Shop on a Live-Edge Bark Base
The live-edge bark base. Without it, this is just another miniature building sitting on fake snow. The raw wood edge ties the Tudor facade to the table underneath it, makes the snow look like it landed on real ground, and gives the whole vignette a found-in-the-woods quality that ceramic-only sets can’t fake. One $12 wood slice does it, and it’s the difference between a collection and a scene.
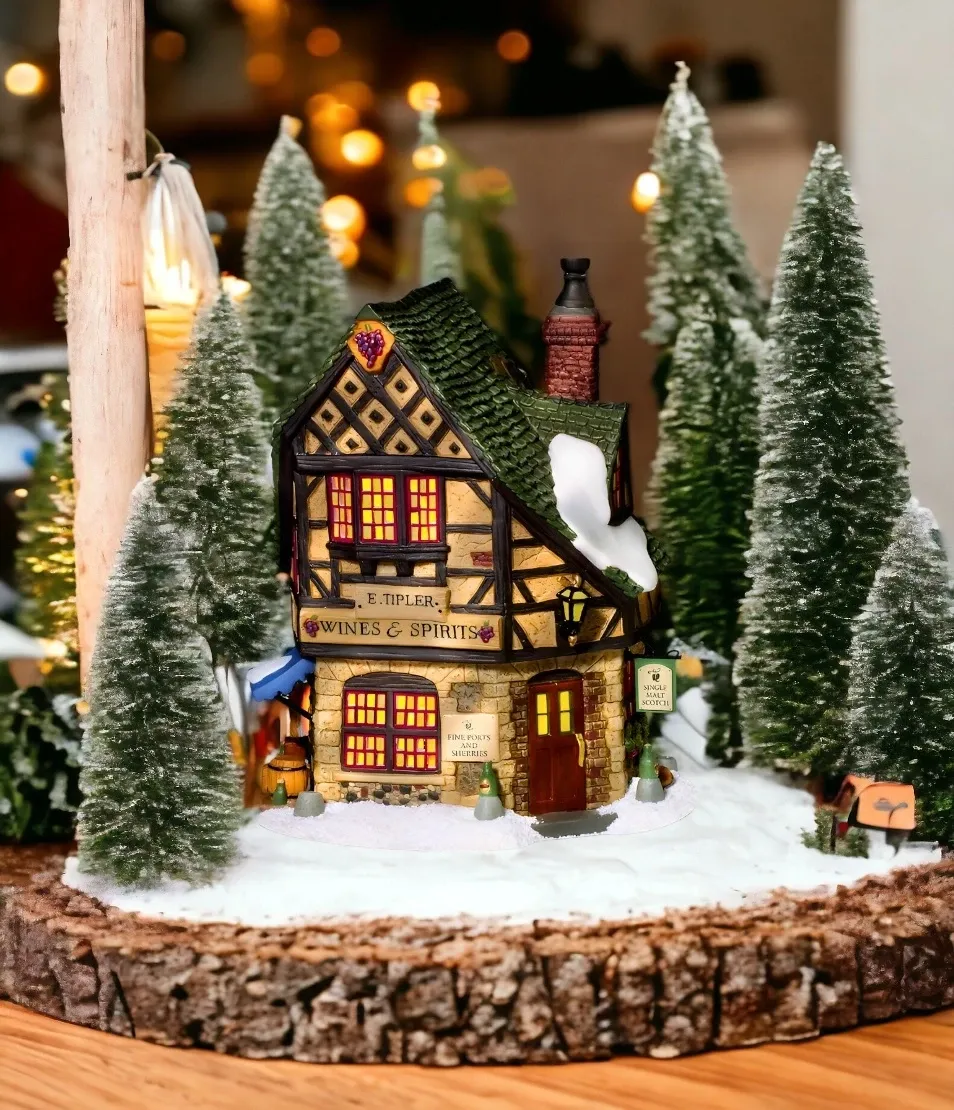
The building is the splurge here, but the styling isn’t. A bark-edged wood slice runs $8–$15 at Michaels, or free if you know anyone who’s had a tree trimmed lately. Frosted bottle brush trees in a 12-pack cost about $14 at Walmart. Layer those around a $30–$60 illuminated house and you’ve recreated roughly 80% of this look for under $80 — the remaining 20% is the building’s detail work, which honestly only reads from up close.
11. Cream and Red Ceramic Houses on a Wood Slice
Building the two-house vignette:
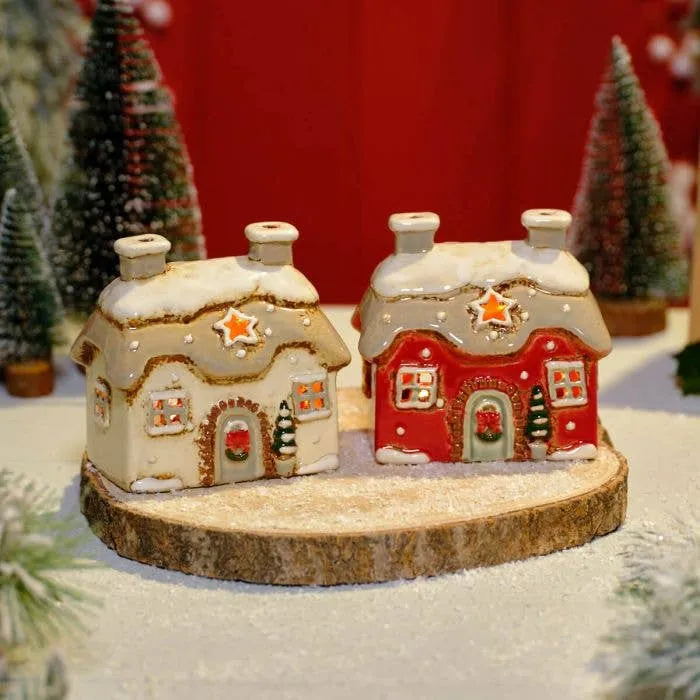
- Start with a 5- to 7-inch wood slice as your footprint.
- Set the taller house slightly off-center, never dead middle.
- Cluster three bottle brush trees to the left to balance the visual weight.
- Dust snow over the base, thicker at the edges than the center.
- Hide both cords behind the taller house.
Twenty minutes of setup, plus whatever your two ceramics cost you.
This is the smallest footprint in the whole roundup — six inches of table will hold it. It’s the right pick for a nightstand, a bathroom counter, a kitchen windowsill, or a bookshelf where a full village would overwhelm everything else. Minimum surface: eight inches wide by six inches deep. If you have more room than that, compare with Idea #30, which spreads the same frosted-roof idea across two wooden risers.
12. A Red Wooden Toy Shop With a Rocking Horse on the Roof
It’s the storytelling. A rocking horse on the roof tells you what’s inside before you ever read the sign, and the snow-dusted roof and lit windows handle the rest. Village pieces that commit to a specific role — toy shop, bakery, wine merchant — beat generic houses every single time, because your eye stops to figure out what’s going on inside. Buy fewer pieces and buy ones with a job.
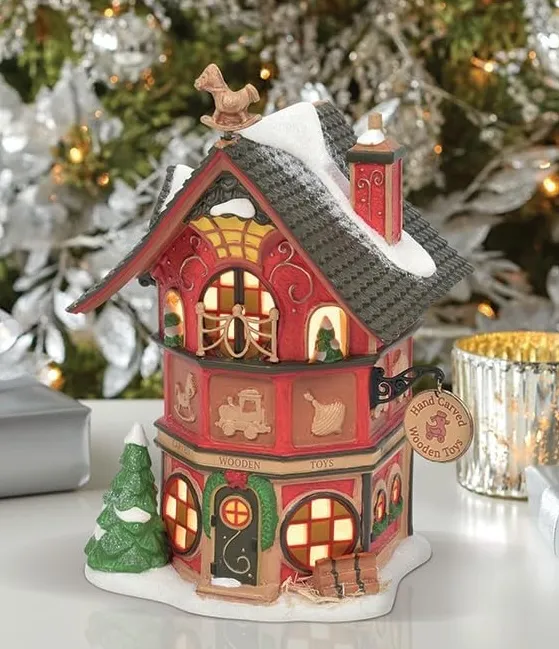
Deep red buildings read darker than they are at the back of a display, so red pieces tend to visually recede. Pull yours forward about two inches past everything else and it’ll sit properly in the scene instead of sinking into the background. Same trick applies to dark green and navy pieces in a mostly white village — the darker the piece, the closer to the front edge it belongs.
13. A Log Cabin With Lumberjacks and a Stone Chimney
Novelty pieces with figure scenes — lumberjacks, skaters, bakers — are the ones kids and guests want to touch. If this sits at grabbing height, expect the saw to go missing by mid-December. Either raise it above 48 inches or accept that the figures will get rearranged daily. Attached side sheds like this one are also fragile at the join and won’t survive being wrapped in newspaper the way a simple house will, so keep the original box.
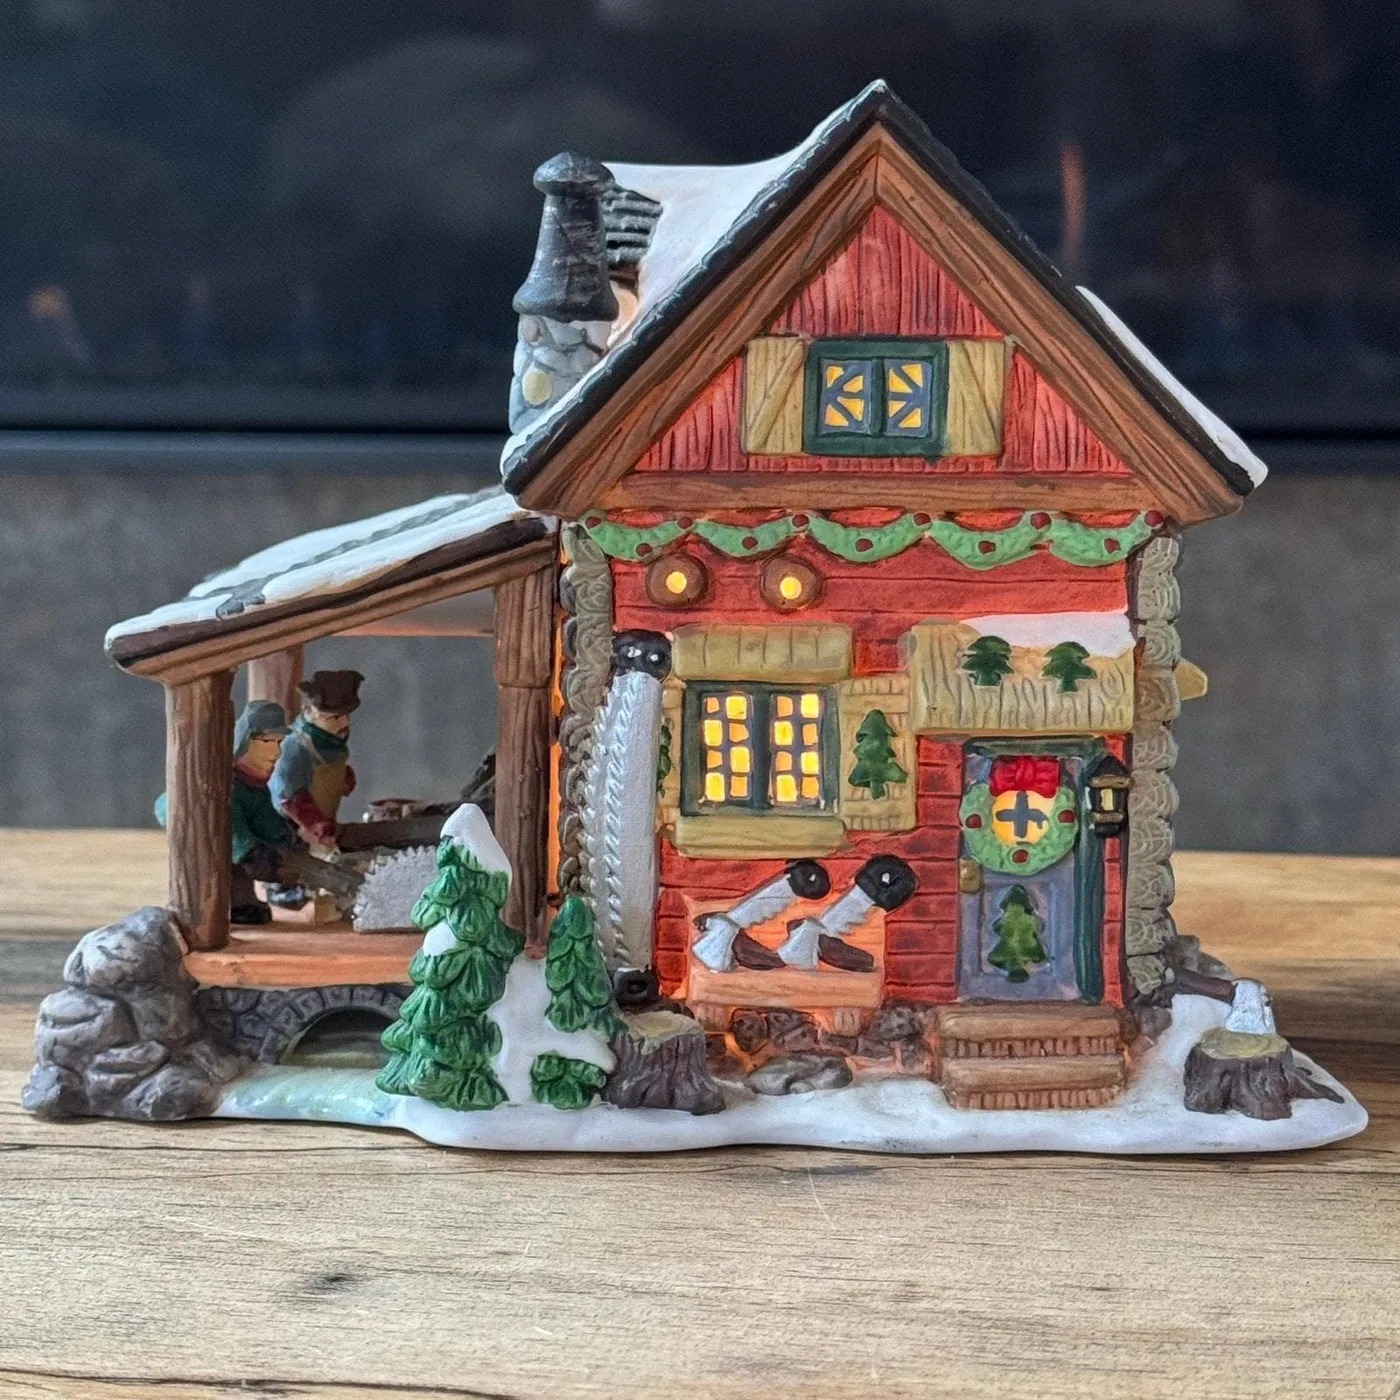
- Illuminated log cabin piece: $35–$90
- Miniature pine trees (pack): $10–$20
- Faux snow: $6–$18
- Warm LED string lights: $8–$16
- Display riser or wood slice: $10–$25
Total: $69–$169
14. A Model Train Passing Under a Lit Archway
Model trains in tabletop villages saw a real uptick in 2025 and it’s carrying straight into 2026 — partly because small-scale battery locomotives got quieter and cheaper, and partly because people want a display that moves. Static villages photograph beautifully but stop being interesting around week two. One slow loop keeps guests standing there, which is the entire point of giving this thing prime real estate in your living room.

Making the archway read as an actual tunnel:
- Set the archway piece on a riser so the opening clears the train by half an inch.
- Run the track so the train disappears for a full three to four seconds.
- Pile snow up the sides of the arch, tapering to nothing at the base.
- Hide the track joint directly behind the arch so the seam never shows.
About 90 minutes, and minimal cost if you already own the arch.
15. A Stone Church With Stained Glass and a Green Spire
This is 60% cream stone + 25% deep red roof + 10% green spire + 5% multicolor stained glass. The restraint is what sells the age — no glitter, no sparkle, just texture and one jewel-toned window. If you want the same piece to feel more modern, keep the ratio and shift cream to cool grey and deep red to slate blue. Same bones, different century entirely.
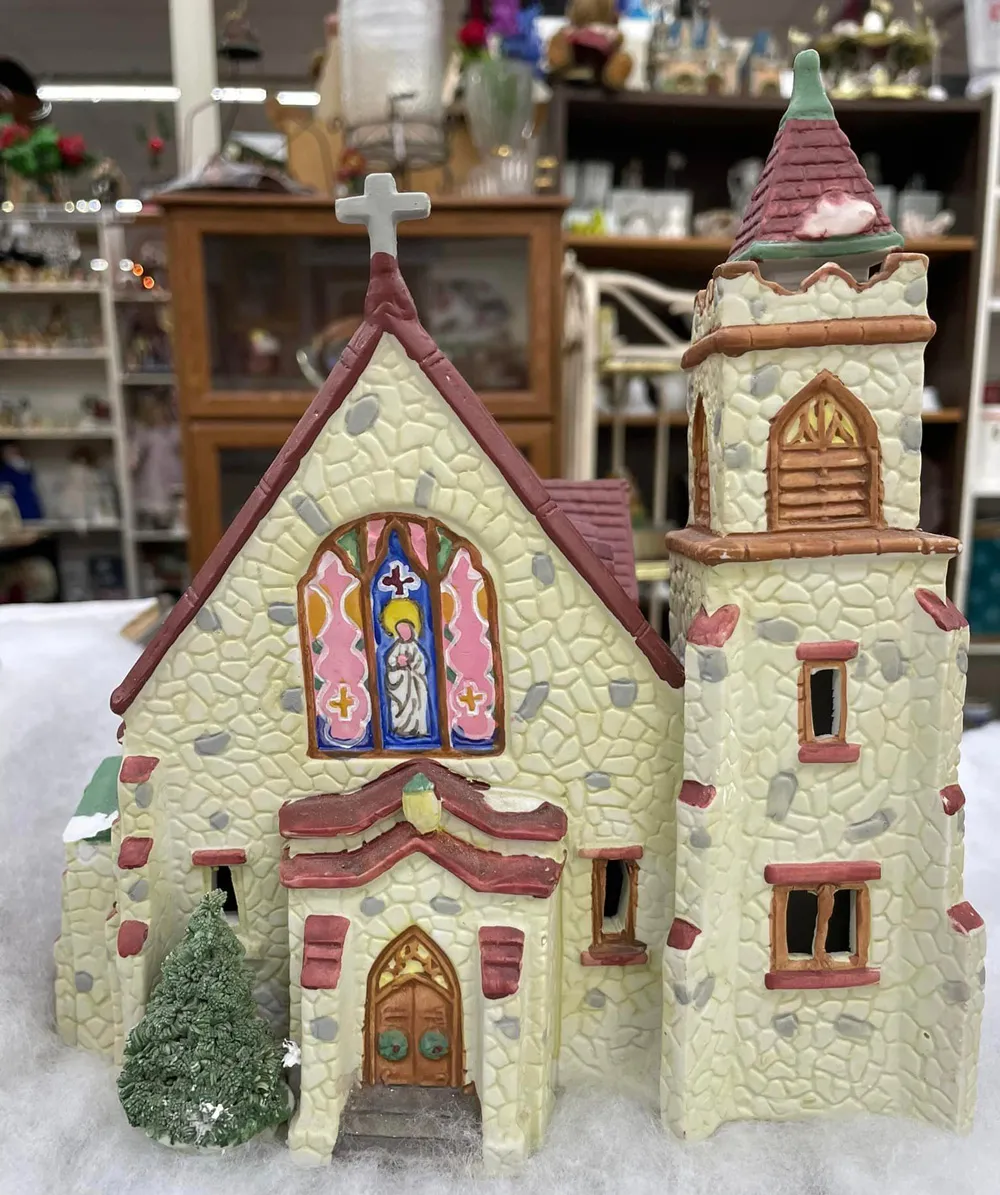
Textured stone finishes are the hardest village surfaces to dust. The crevices trap it, and compressed air just pushes it deeper. Use a soft makeup brush and work in one direction with light pressure — ten seconds per building, once a month during display season. Stained-glass panels on affordable pieces are usually printed acetate, so keep them out of direct sun; UV will fade the color inside a single season.
16. A Glitter-Red House With a Snowman and Tiny Wreath
Glitter finishes are almost always a DIY upgrade, not a factory one. A $12 matte red house from Target, a $6 jar of fine red glitter, and a $4 bottle of decoupage medium gets you the same sparkle for under $25. Apply two thin coats of glue, sprinkle over a tray, and tap off the excess — heavy glitter looks crafty, light glitter looks expensive. Seal it with matte spray or you’ll be finding red flakes until April.
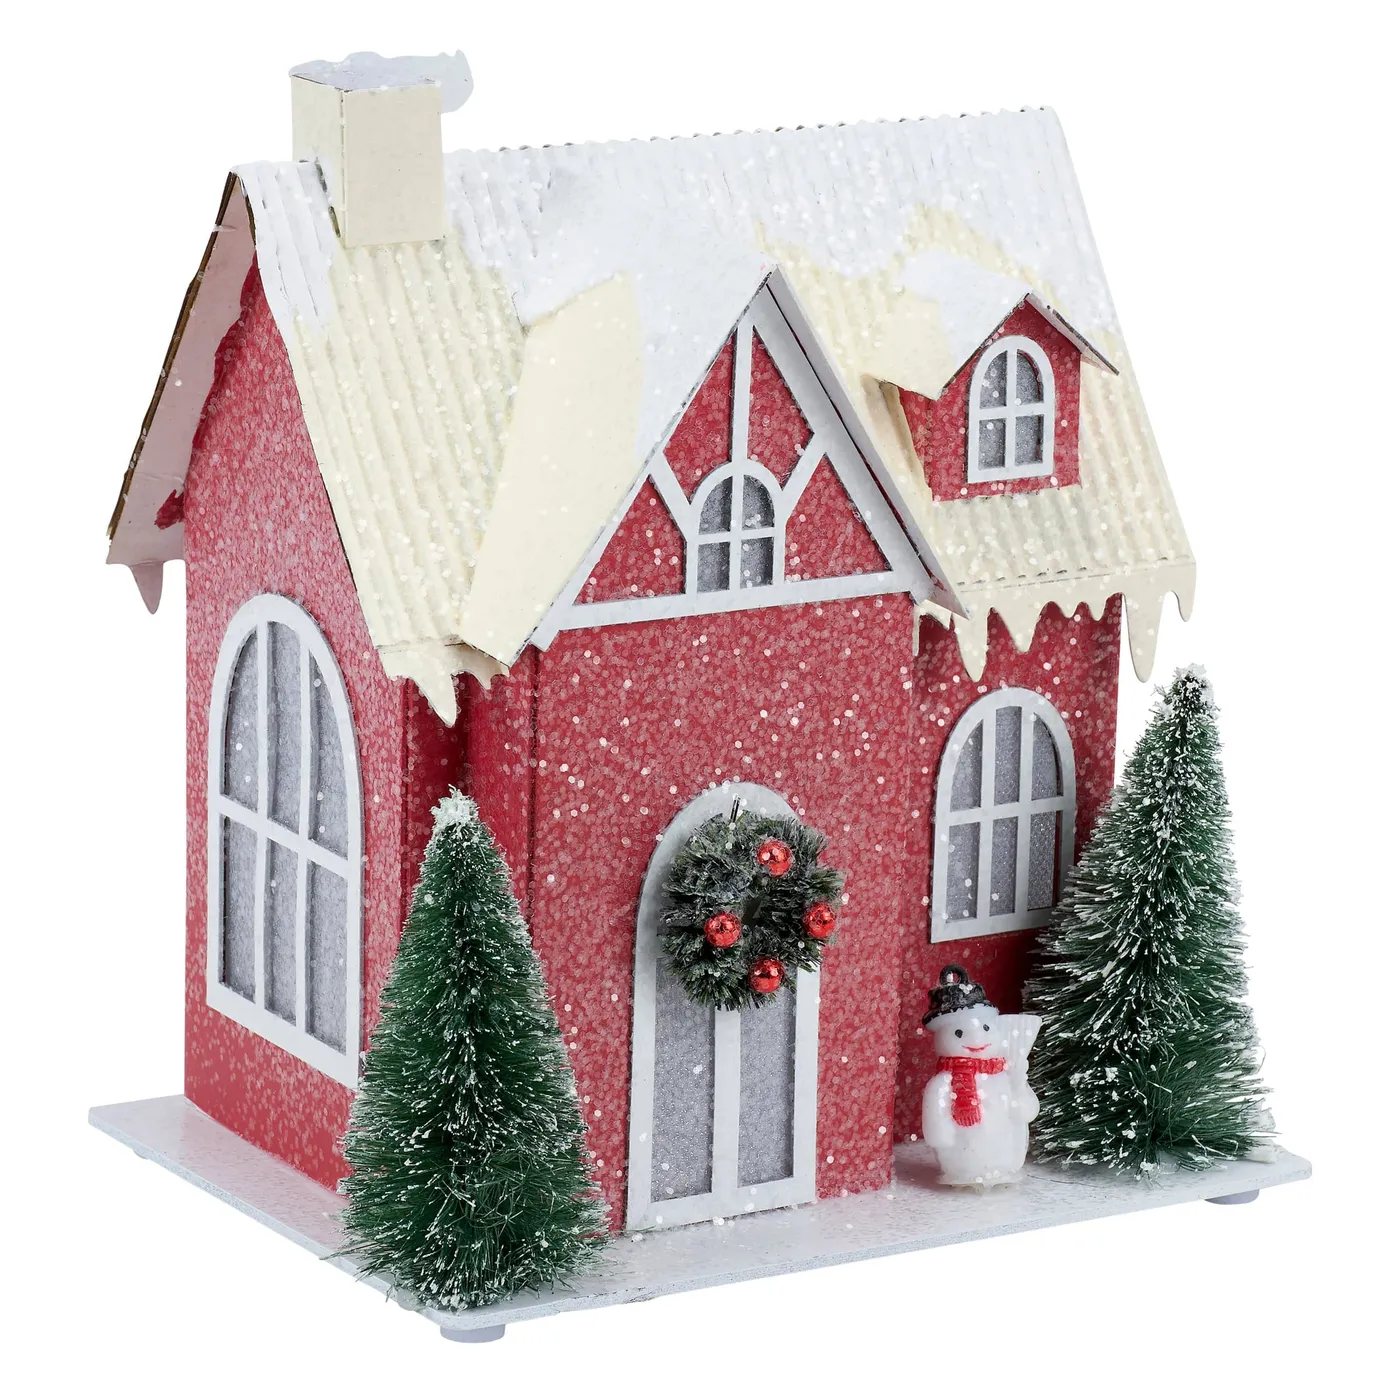
The tiny wreath with red baubles on the front door. It’s maybe a quarter inch across, and it’s the reason this house reads as someone’s home instead of a decoration. When you’re choosing village pieces, look for these micro-details — a wreath, a snowman with a scarf, a mailbox. They cost nothing extra, and they’re the thing that makes people lean in and stop talking for a second.
17. A Village Sealed Inside a Wood-and-Glass Case
Cases like this typically run 16 to 22 inches wide and 10 to 14 inches deep, which means they fit on a console, a dresser, or the top of a low bookshelf. The glass adds roughly two inches of height, so plan for a 14- to 16-inch total footprint. This is also the pick for households with toddlers or cats, because nothing inside is reachable. If you want a bigger scene, see Idea #28.
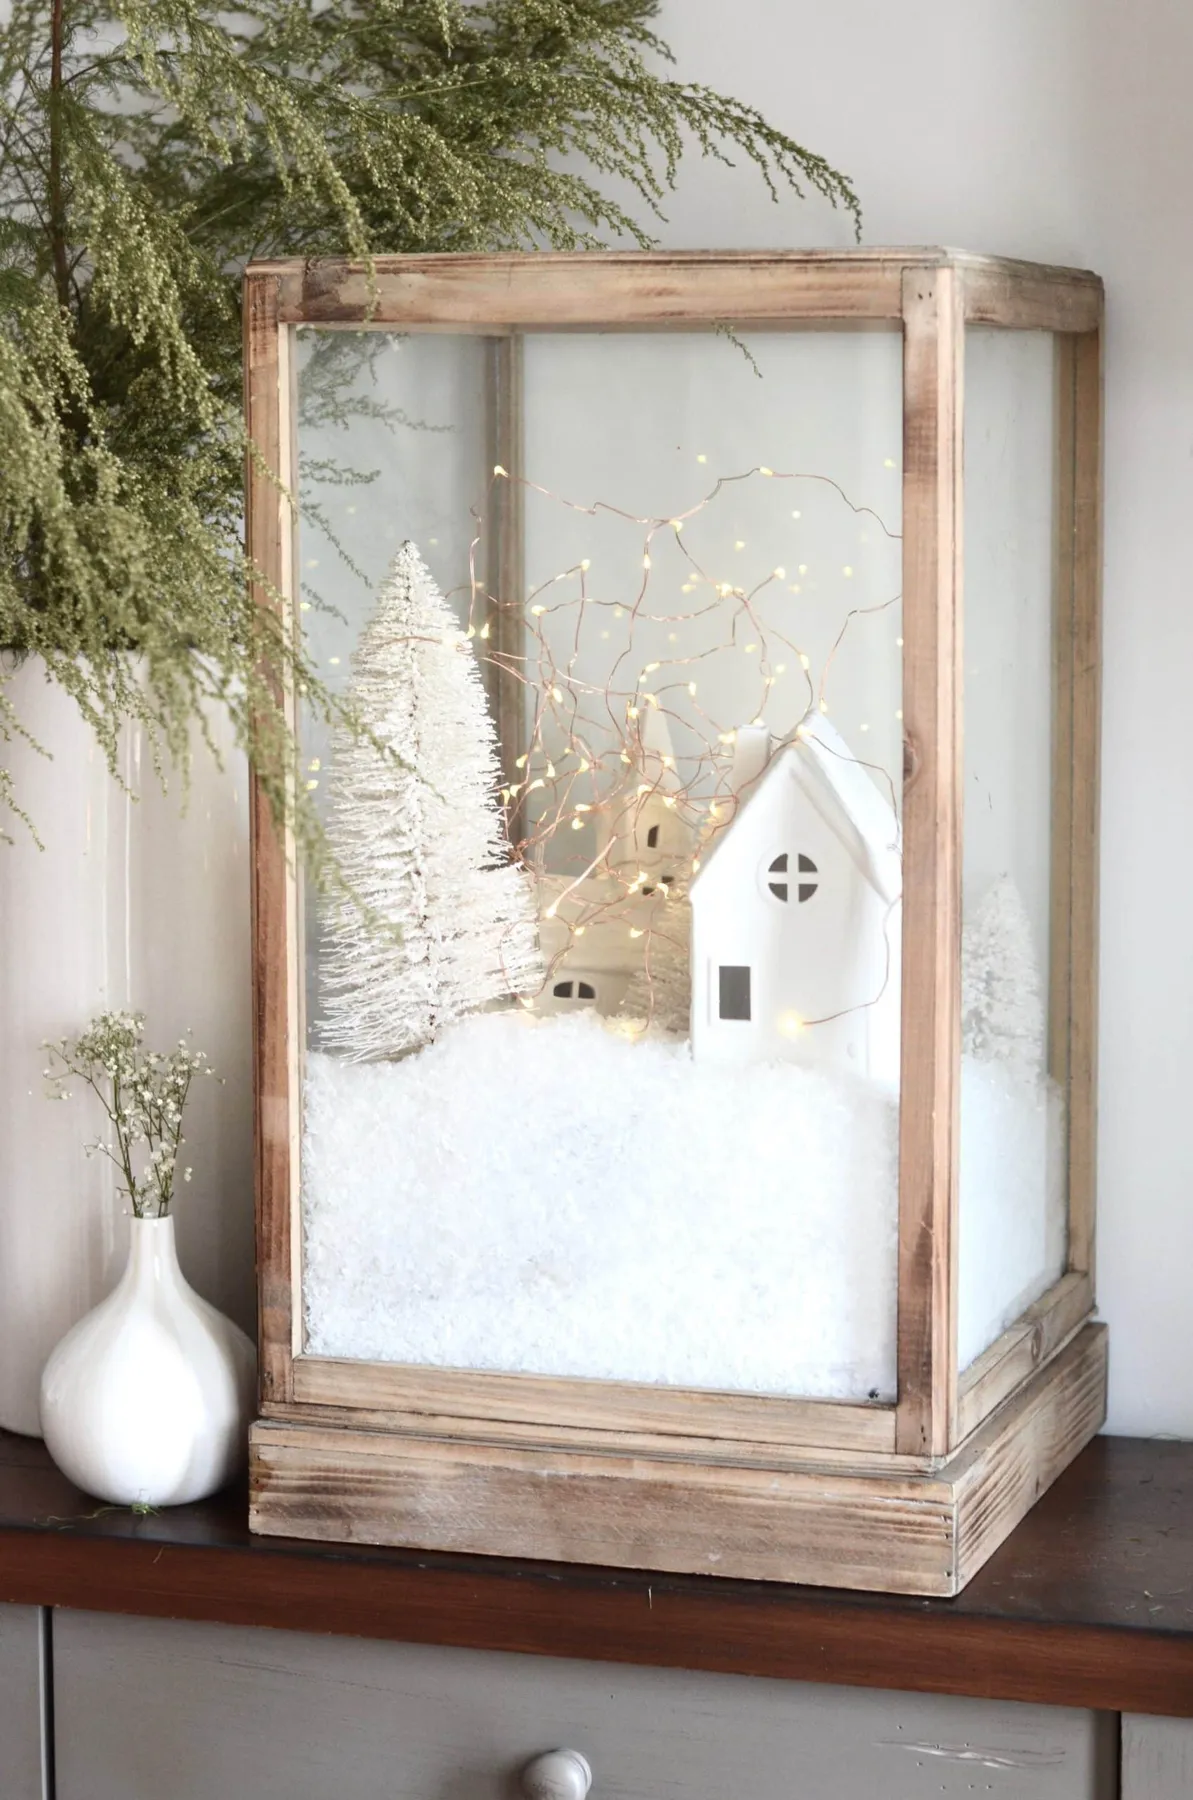
Glass cases reflect whatever’s behind you, so put yours against a wall — never facing a window or the TV. Swap the included fairy lights for a copper-wire string at 2700K; the bundled versions almost always run cool white and turn the whole scene blue. If your case has a wooden base, line it with white felt before the snow goes in. It stops everything sliding when you dust, and it hides the wires.
18. An Ornate Carousel as the Centerpiece of the Snow
A moving carousel does something a lit house can’t: it holds attention through motion, which is why it can anchor an entire display on its own. The cream-and-red palette also keeps it from fighting the flocked trees around it — same warm family, different intensity. Everything else here is deliberately quieter so the carousel wins. That’s hierarchy, and it’s the difference between a collection and a composition.
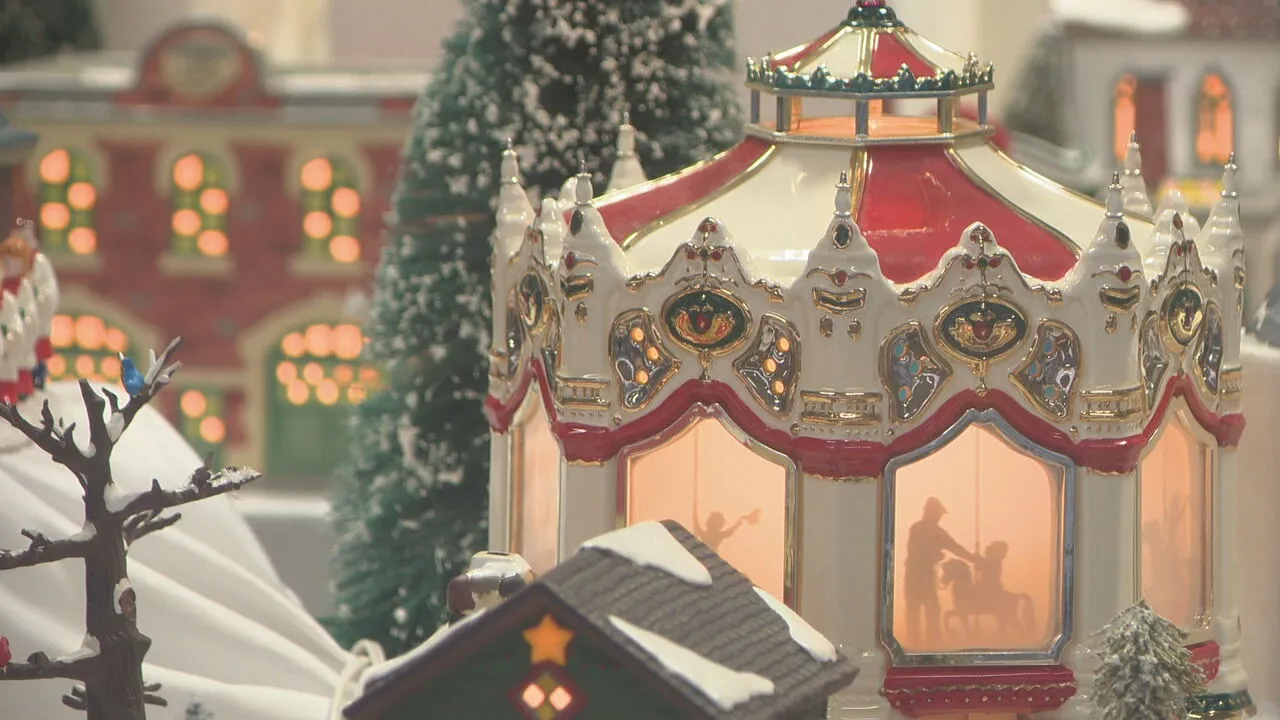
- Check the carousel’s rotation noise — some motors hum audibly across a room.
- Verify the power source; most animated pieces need a wall outlet, not batteries.
- Measure clearance above the canopy — motion needs at least an inch of air.
- Decide now whether kids can reach it, because moving parts are magnetic.
19. An Ice Rink Full of Skaters and a Picket Fence
Animated skating rinks are the most breakable thing you can put in a holiday display. The magnetic figures, the rink surface, the motor — any one of them fails and the whole piece becomes a static puddle of plastic. Buy from a brand with a replacement-parts program and keep the receipt. Rink pieces are also typically wide and shallow, so they need 20-plus inches of width but less than 10 inches of depth.
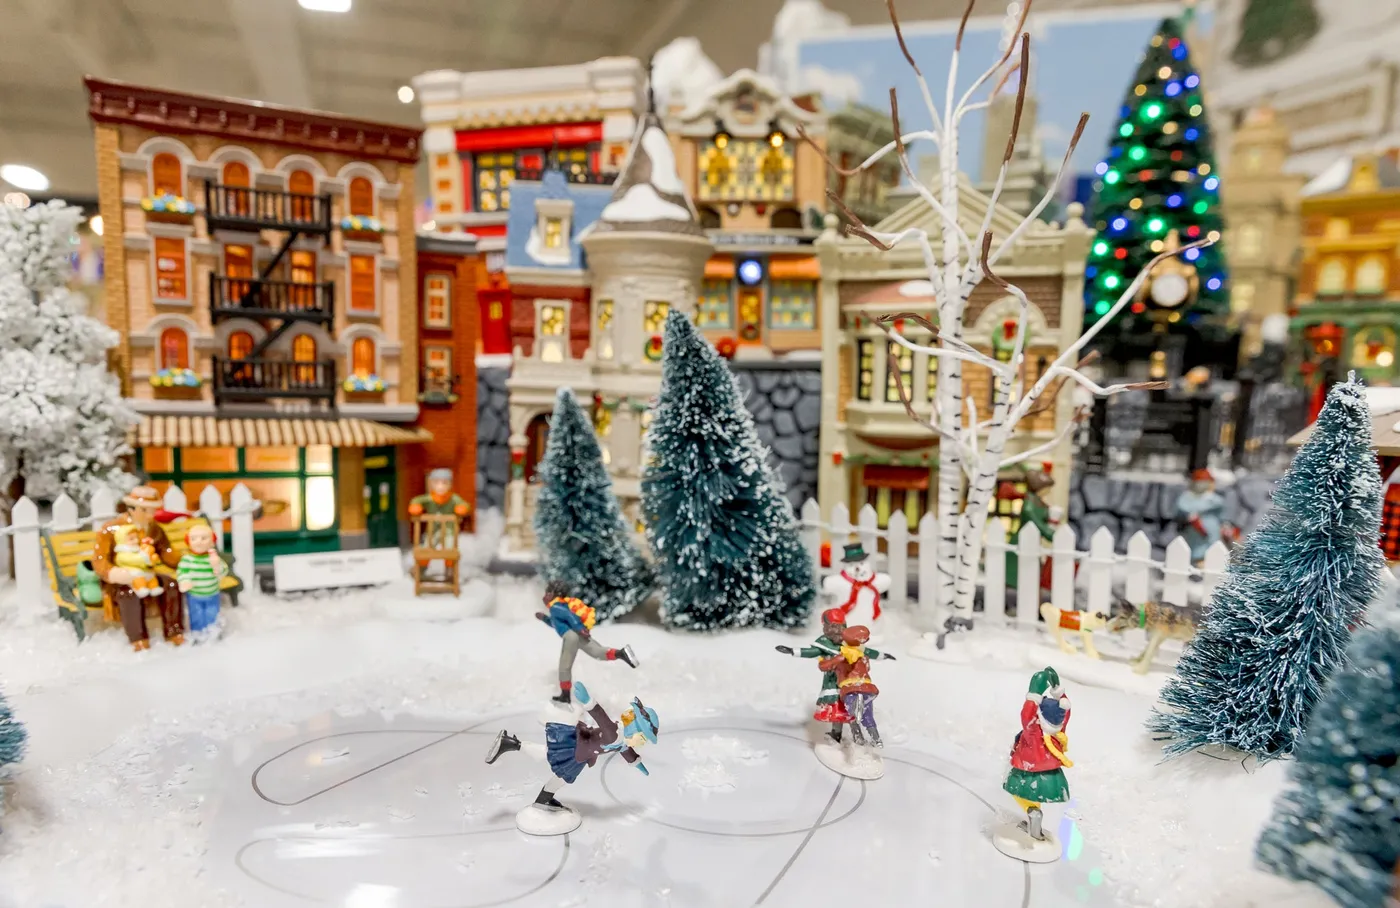
- Animated skating rink piece: $60–$180
- Illuminated buildings (2–3): $30–$80 each
- Flocked evergreen trees: $12–$30
- White picket fence sections: $8–$18
- Faux snow and base mat: $10–$25
Total: $150–$413
20. A White Church With a Santa Train in the Distance
Put your tallest element off to one side, not in the middle. This church sits left of center with the train filling the right, and that off-balance placement is what makes the scene feel like a real town instead of a trophy shelf. Aim for the tallest piece roughly one-third in from one edge. Centered tall pieces flatten everything around them into a border.
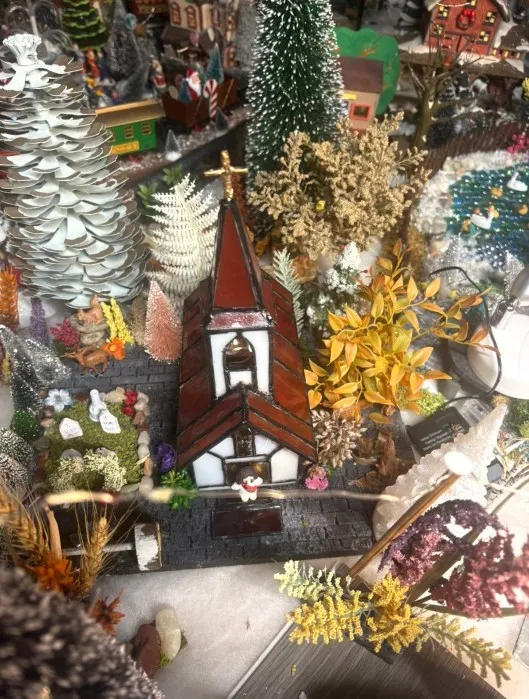
The mix here is 55% white + 25% green + 15% red + 5% warm brown from the autumnal foliage. Those bronze and orange trees are the unusual part — and they work, because they push the palette from Christmas card to late November. Swap them for all-evergreen and the scene tightens up and reads more formal. Keep them and it stays loose, warm, and lived-in.
21. Train Tracks Running Under a Tinsel-Heavy Tree
The tree is doing the heavy lifting here, so the village doesn’t have to. Skip the pricey train set: a $25 battery-operated train runs on its own track and looks identical from three feet away. Dollar-store buildings sprayed white, a $9 strand of warm lights, and a plain white sheet for snow — the whole scene lands under $70 and reads every bit as festive as the expensive version.
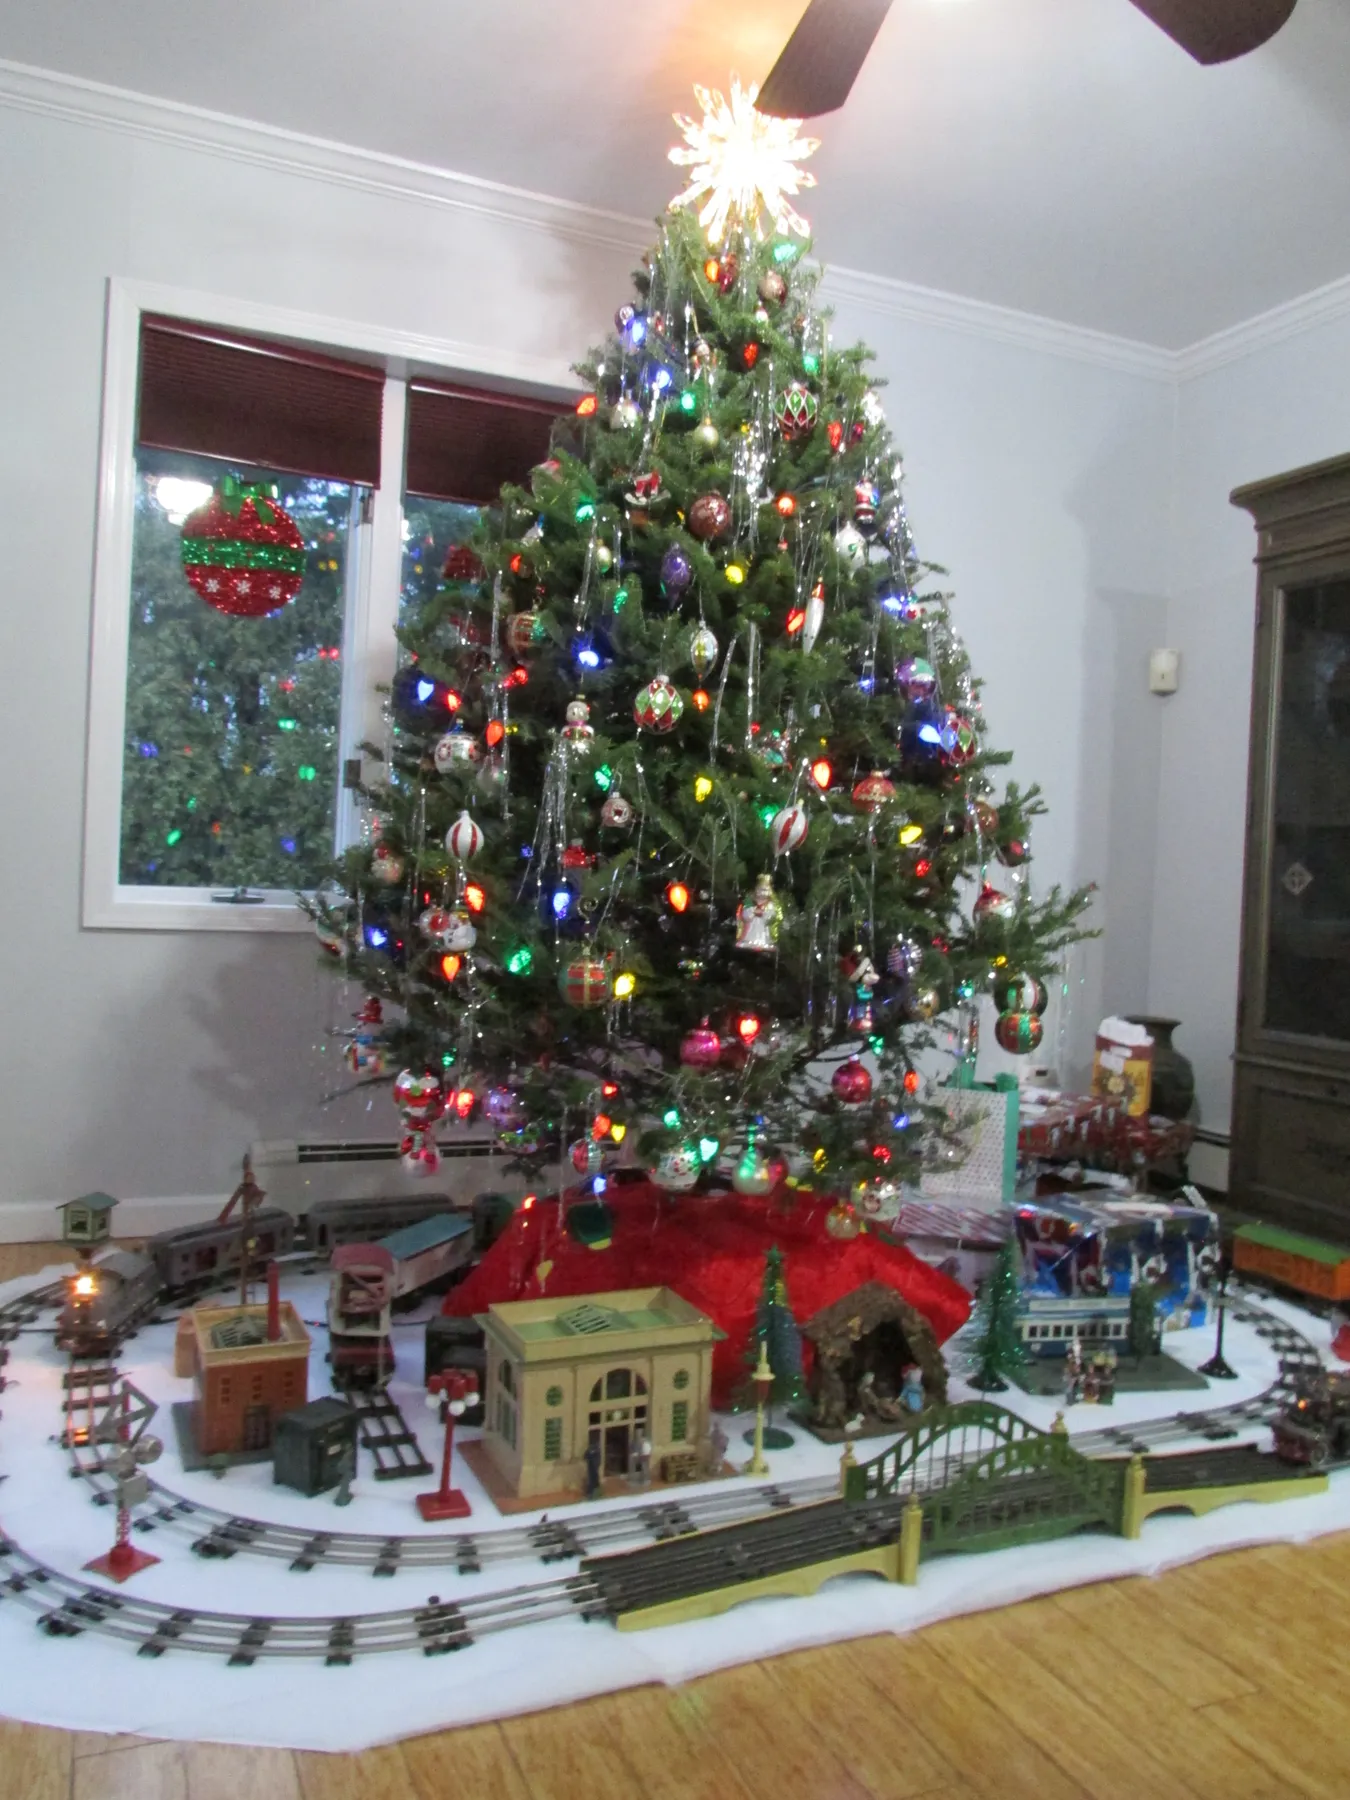
Setting the train under the tree:
- Lay the track in a closed loop at least four inches wider than the tree base.
- Test the full loop before you add a single building.
- Slide wrapping-paper tubes under the track wherever it crosses tree skirt fabric.
- Weight the track corners with hidden weights so nothing shifts when the tree rotates.
- Pile snow around the rails, never on them.
22. Paper Houses Lit From Within (a Real DIY Build)
The formula is 65% white paper + 20% natural brown + 10% green + 5% warm light. That’s why it looks Scandinavian rather than crafty — the cardboard is left honest instead of painted, and the only color comes from the string lights and a couple of small red figures. You can shift the whole thing by painting the houses flat white for a cleaner read, or leaving them raw for something warmer and more handmade.
Paper and cardboard village houses are having a real moment in 2026, partly as a reaction to how much plastic these displays usually involve. Cutting files on Etsy, laser-cut blanks, and printable templates have turned it into a one-evening project instead of a weekend one. There’s also something honest about a village that visibly came off a craft table, and that fits the whole make-it-don’t-buy-it shift.
23. A Cobblestone Street of Victorians With Garlands
Figurines in period clothing are hand-painted, which means they chip when dropped and fade when they sit in direct sunlight for a full season. Rotate the display position each year if yours gets strong window light. The cobblestone textures trap dust too — a soft brush once a month, and never water on painted resin, since it dulls the finish. Budget about $15 a year for replacements.
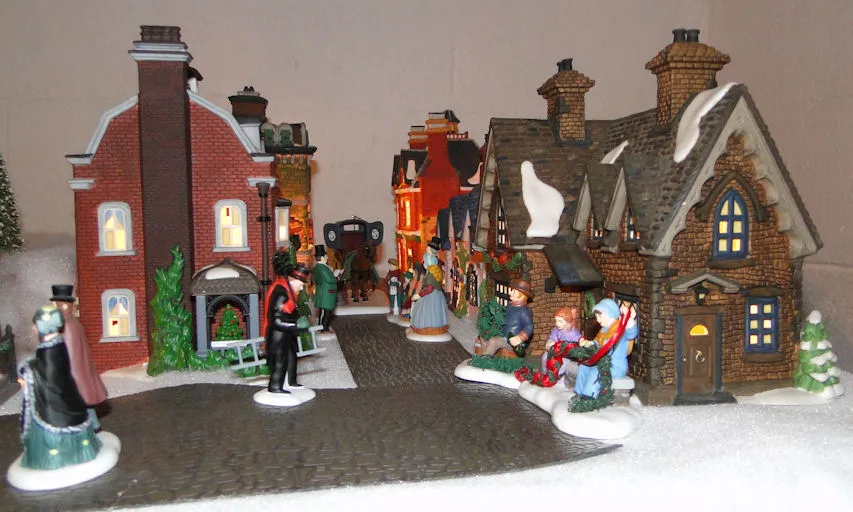
Street scenes need length more than depth. Plan for five to seven feet wide and only 12 to 18 inches deep — they work beautifully on a long, narrow surface like a mantel shelf or a console behind a sofa. Ceiling height is irrelevant, but a plain backdrop matters a lot: busy wallpaper behind this many small figures turns into visual static. See Idea #4 if your space is deeper than it is wide.
24. A Candy Shop, a Sleigh, and a Garlanded Picket Fence
The horse-drawn sleigh is the whole story. A row of lit shops behind a picket fence is a nice display; a sleigh moving down a snow-dusted path makes it a place with somewhere to go. If you’re building a village on a budget, spend your money on one piece of action — a sleigh, a train, a skating rink — rather than three more static buildings that will just sit there glowing.
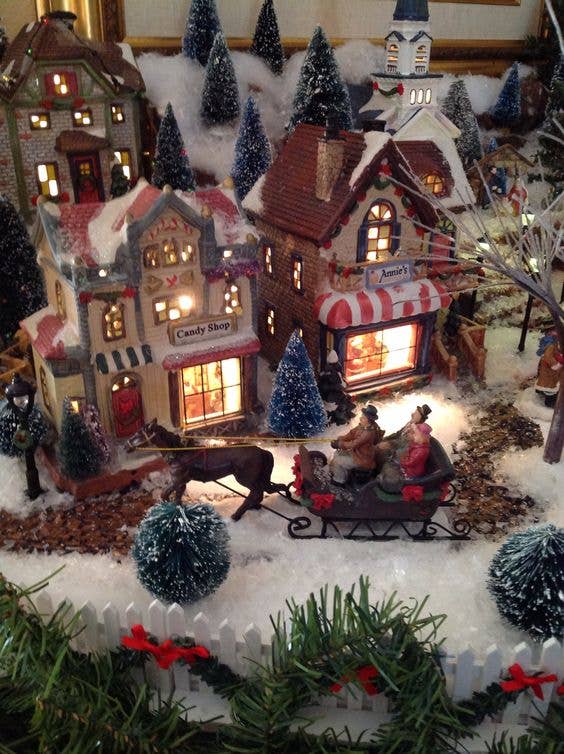
- Illuminated shop buildings (2–3): $30–$75 each
- Horse-drawn sleigh set: $25–$60
- Faux snow: $8–$20
- Miniature evergreen trees: $12–$30
- Picket fence with garland: $10–$22
- Street lamp posts: $8–$18
Total: $123–$300
25. Blue and White Houses With a Violinist in the Snow
When you mix a light blue house with a white one, put the blue piece slightly forward. Pale blues go visually flat next to bright white and tend to disappear at the back of a display. Same applies to mint and pale green — treat them as foreground pieces and let white and red carry the back row. A warm bulb behind blue glass also reads far richer than a cool one.
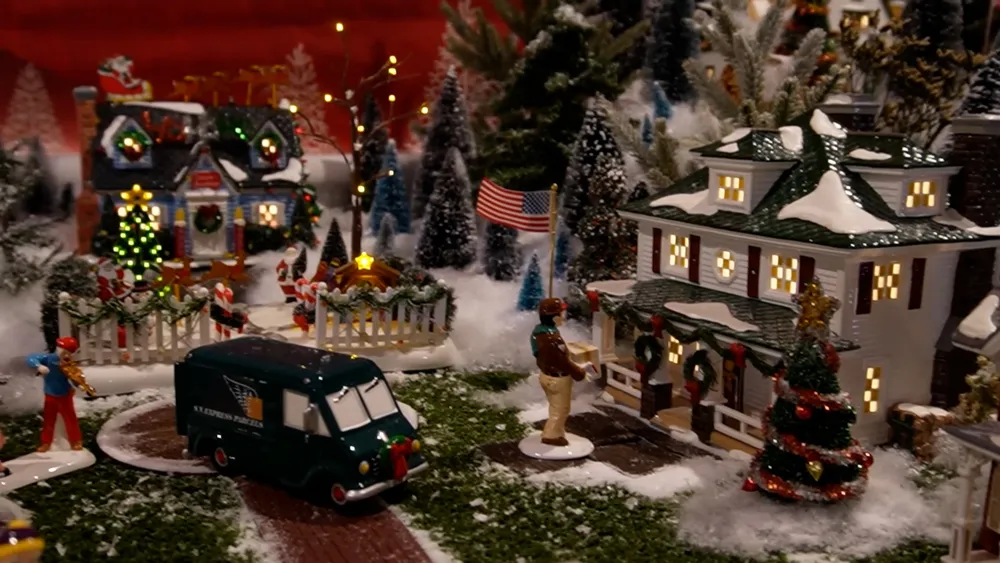
Detailed figure sets are a commitment. This scene has a delivery van, a violinist, a Santa, and a tiny Santa with a list — all small, all loose, all easy to vacuum up. Keep a shallow tray nearby so the figures have a home when you dust, and photograph your arrangement in early December. By January you’ll have forgotten where the violinist stood, and next year you’ll want to rebuild it exactly.
26. A Pastel Village With One Little Red Train
Pastels work in a Christmas village because they lower the contrast while keeping the warmth. Pale pink, mint, and butter yellow houses with yellow-lit windows read gentle rather than loud, and the single red train becomes the loudest note in the frame — which is precisely why it’s the only saturated color allowed in. Remove that red train and the whole scene goes flat and a little sleepy.
Pastel villages are the easiest look to fake, because you’re painting anyway. Plain wooden house blanks run $2–$5 each at craft stores; a $12 set of pastel acrylics and a foam brush covers six houses. Add flocked trees at $14 a dozen, small black lamp posts for about $6, and a $20 battery train, and you’re at roughly $80 for a scene that looks like it cost four times that.
27. A Glitter-Dusted Village on a Tiered Stone Path
The tiered base is what makes this read as a hillside, and it needs roughly four to five feet of width and at least 20 inches of depth to work. Ceiling height isn’t the constraint — backdrop is. It looks best on a surface against a plain wall, and it’s heavy, so use a sturdy console or a dedicated table rather than a floating shelf. Smaller rooms should look at Idea #17 or Idea #11.
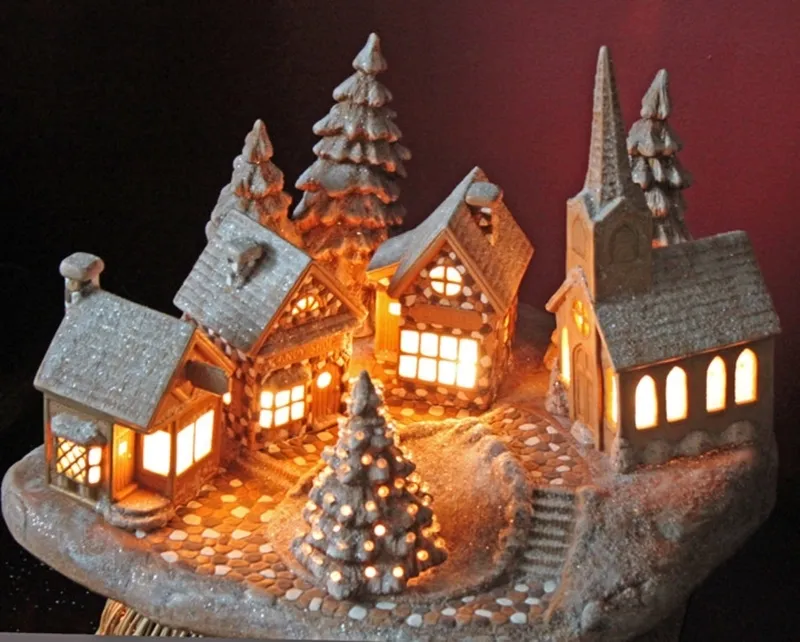
Glitter is forever. A glitter-covered display will shed onto the surface beneath it for the entire season and then some, so put a mat or runner underneath rather than setting it directly on wood you care about. When you pack it up, wrap glitter pieces in tissue separately — never in the same bin as the flocked trees, or you’ll unwrap a glittery forest next December.
28. A Window-Front Village With a Nativity Corner
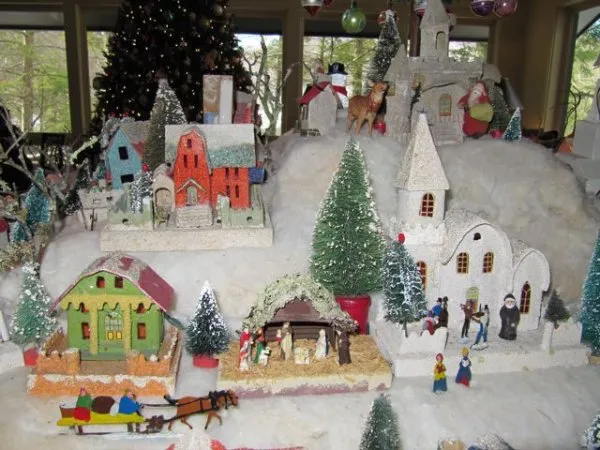
- Check window direction — direct southern light will fade painted figures over a season.
- Confirm the display doesn’t block a walkway or a heat vent.
- Measure the surface: elaborate scenes need six feet of run and 20 inches of depth.
- Decide where the nativity goes before you place houses, not after.
Layering a believable snow base:
- Start with white batting or felt as the base ground layer.
- Add a second, looser layer of fluffy faux snow on top.
- Build drifts up against the walls of each building with your fingers.
- Leave patches of flat base visible so it reads as depth, not a pile.
- Dust one final light pass from 12 inches above for fresh-snow texture.
Thirty minutes and roughly $20 in materials.
29. Handcrafted Wood Houses With Reindeer and String Lights
- Handcrafted wood or cardboard houses (6–8): $40–$120
- Bottle brush trees, green and white (12-pack): $14–$30
- Small reindeer figures: $8–$20
- Faux snow and batting: $10–$24
- Warm copper-wire string lights: $10–$22
Total: $82–$216
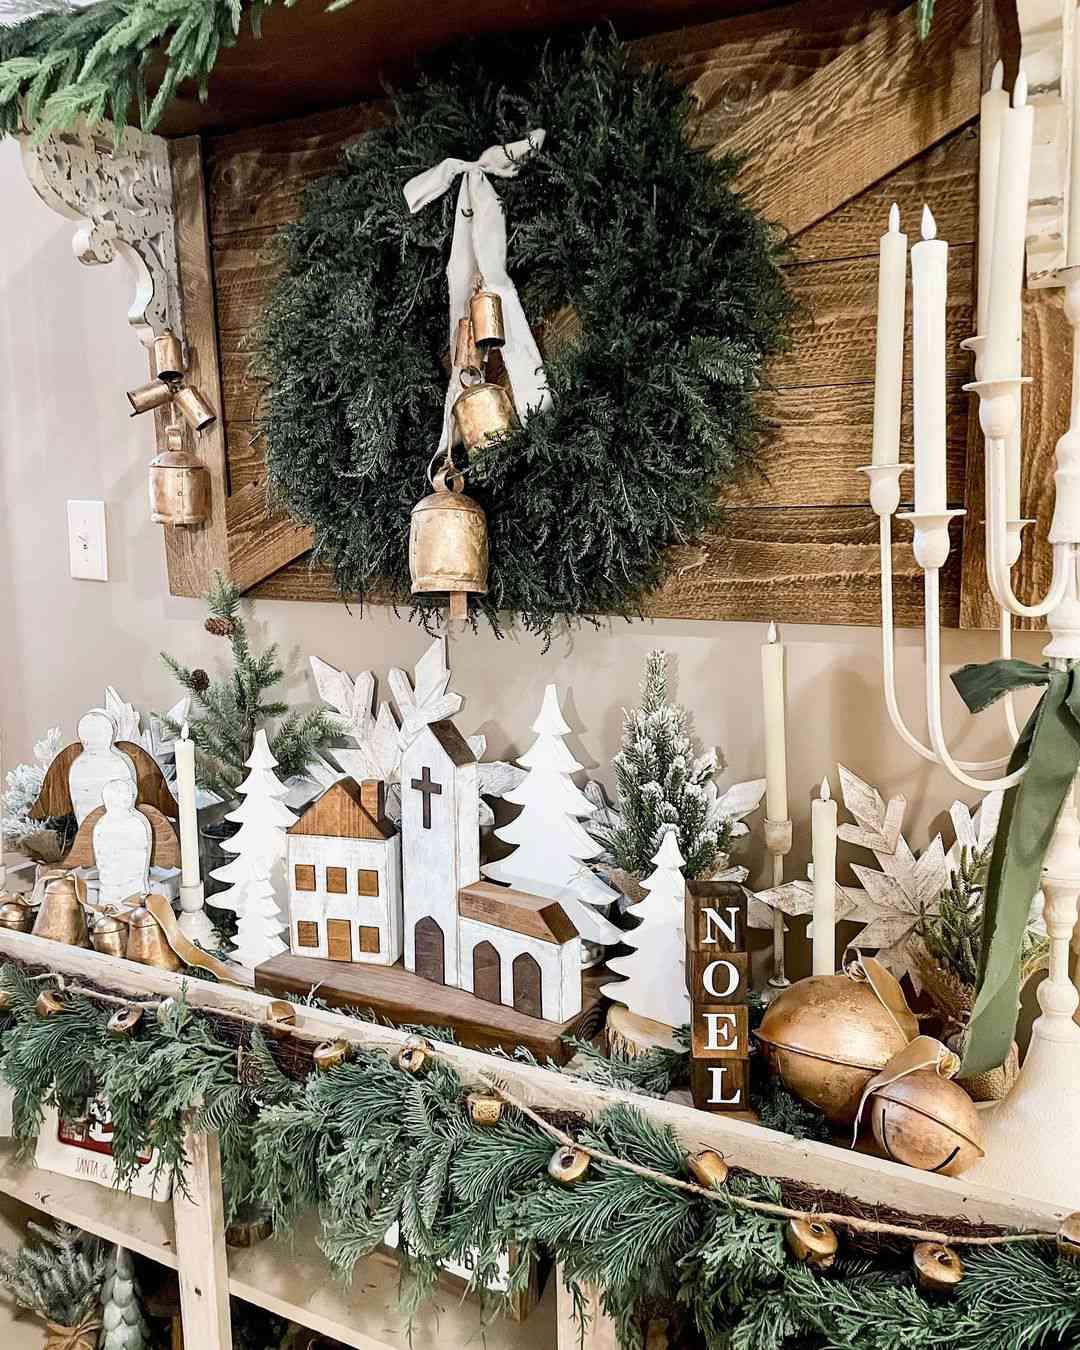
This is a 55% white + 25% natural wood + 15% deep green + 5% warm light formula, and the reason it looks designer rather than homemade is the restraint. No red, no glitter, no ornaments. The dark grey houses act as the accent color, which is unusual — most villages lean on red to do that job. Try the same formula with charcoal and undyed wood and you get a display that works in a modern room without a single concession.
30. Frosted-Roof Houses on a Rustic Wooden Riser
Risers are a great idea with one catch: they’re top-heavy. A three-inch wooden stand with a ceramic house on top tips if someone brushes past it, and if two houses are stacked, gravity is not your friend. Put museum putty under each roof, keep the heaviest piece at the bottom of the riser, and keep this setup off an entryway console where bags and coats get thrown.
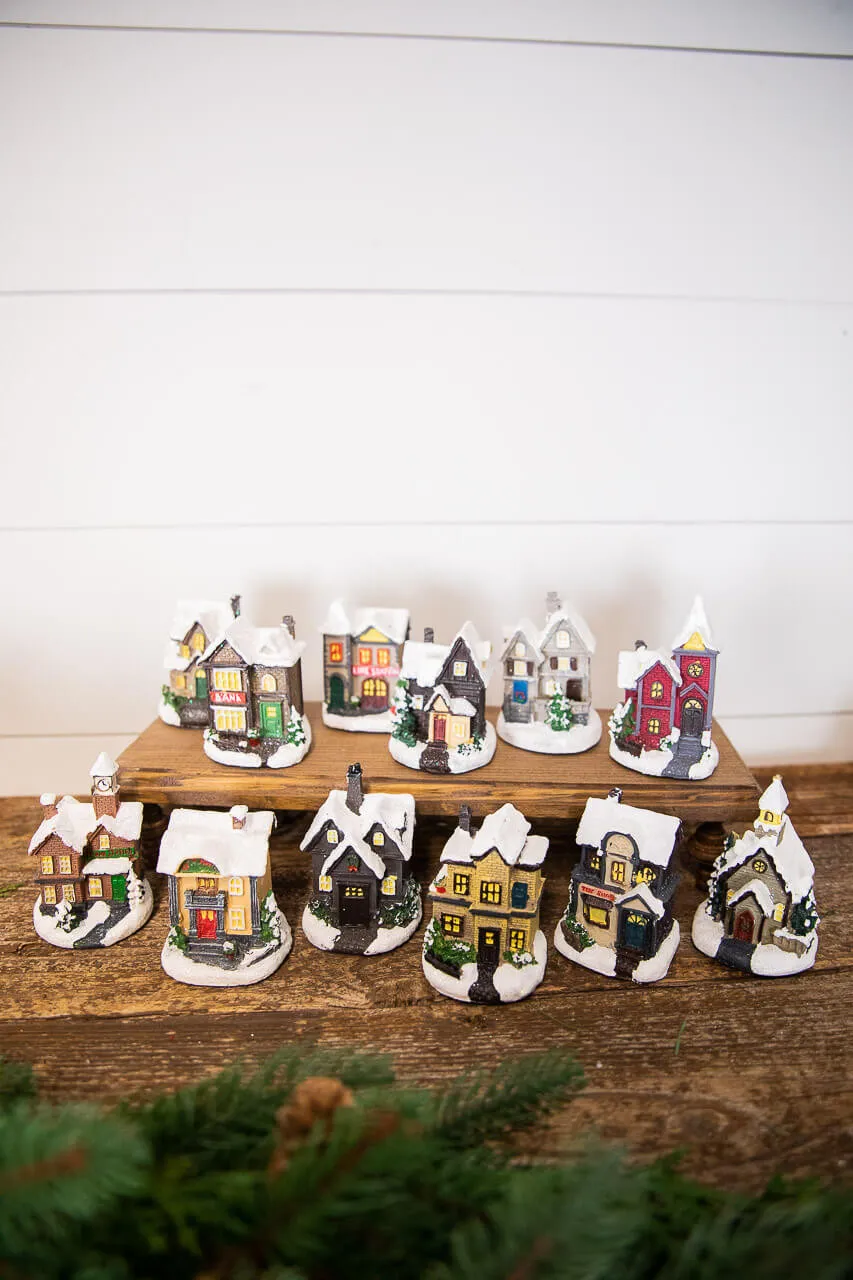
The staggered roofline is doing the work here. Both wooden surfaces hold the same frosted-roof houses, but nothing sits at the same height, so twelve inches of table reads like an actual neighborhood. Notice the out-of-focus pine needles in the foreground too — that single blurry layer creates depth and makes the whole display feel like part of the room rather than a shelf of objects.
31. Thatched Roofs, a Wagon, and a Bustling Street
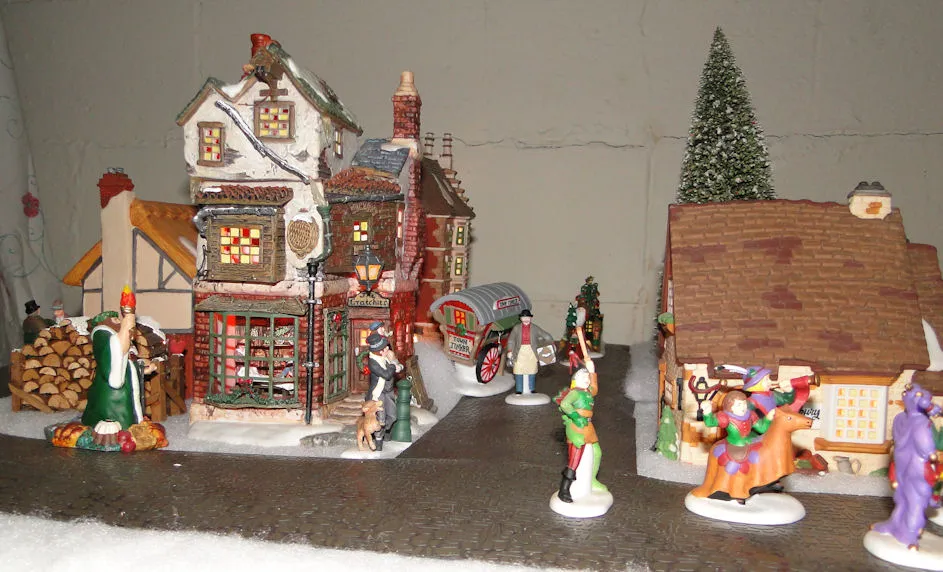
Buildings with thatched or heavily textured roofs collect dust in a way smooth ceramics don’t. Plan on a soft-brush dusting every three weeks during display season, and never use a damp cloth on resin — it dulls the finish and can lift painted detail. If you store the pieces in a garage or attic, drop a silica packet in each box; humidity is what kills miniature paint over the long haul.
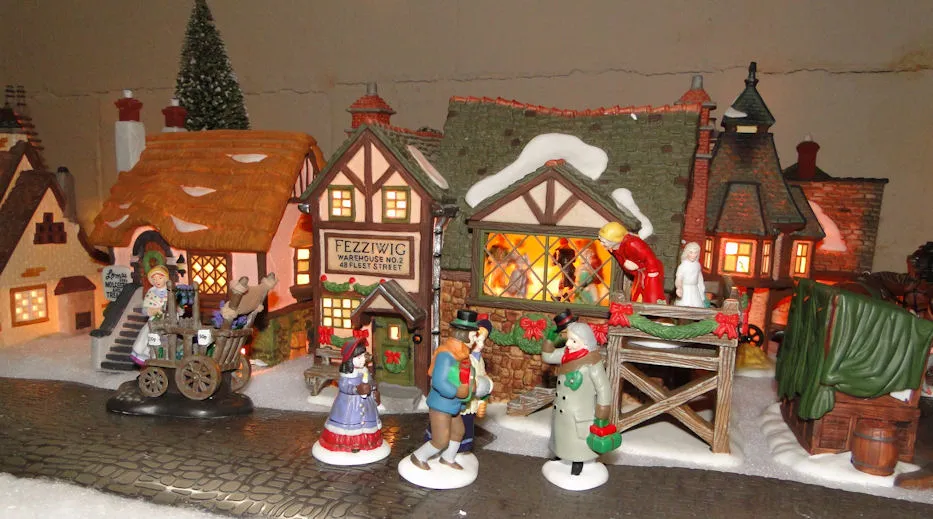
What makes this street feel alive is occupation. There are figures carrying goods, a wagon, someone crossing the cobblestones — it’s a scene with errands in it, not a diorama of empty buildings. If your village feels flat, the fix usually isn’t another house. It’s three figures and a cart, which cost about $20 and completely change the read.
32. A Windowsill Village With a Pink Twisted Candle
Windowsills are the most underrated village real estate in a house — and the light is free. Set your pieces two to three inches back from the glass so daylight rims the rooftops instead of blowing out the windows, and turn off the interior lights during the day. Save the glow for after 4 p.m., which is when it actually reads. Put a felt pad under the base too, or condensation will mark the sill paint.
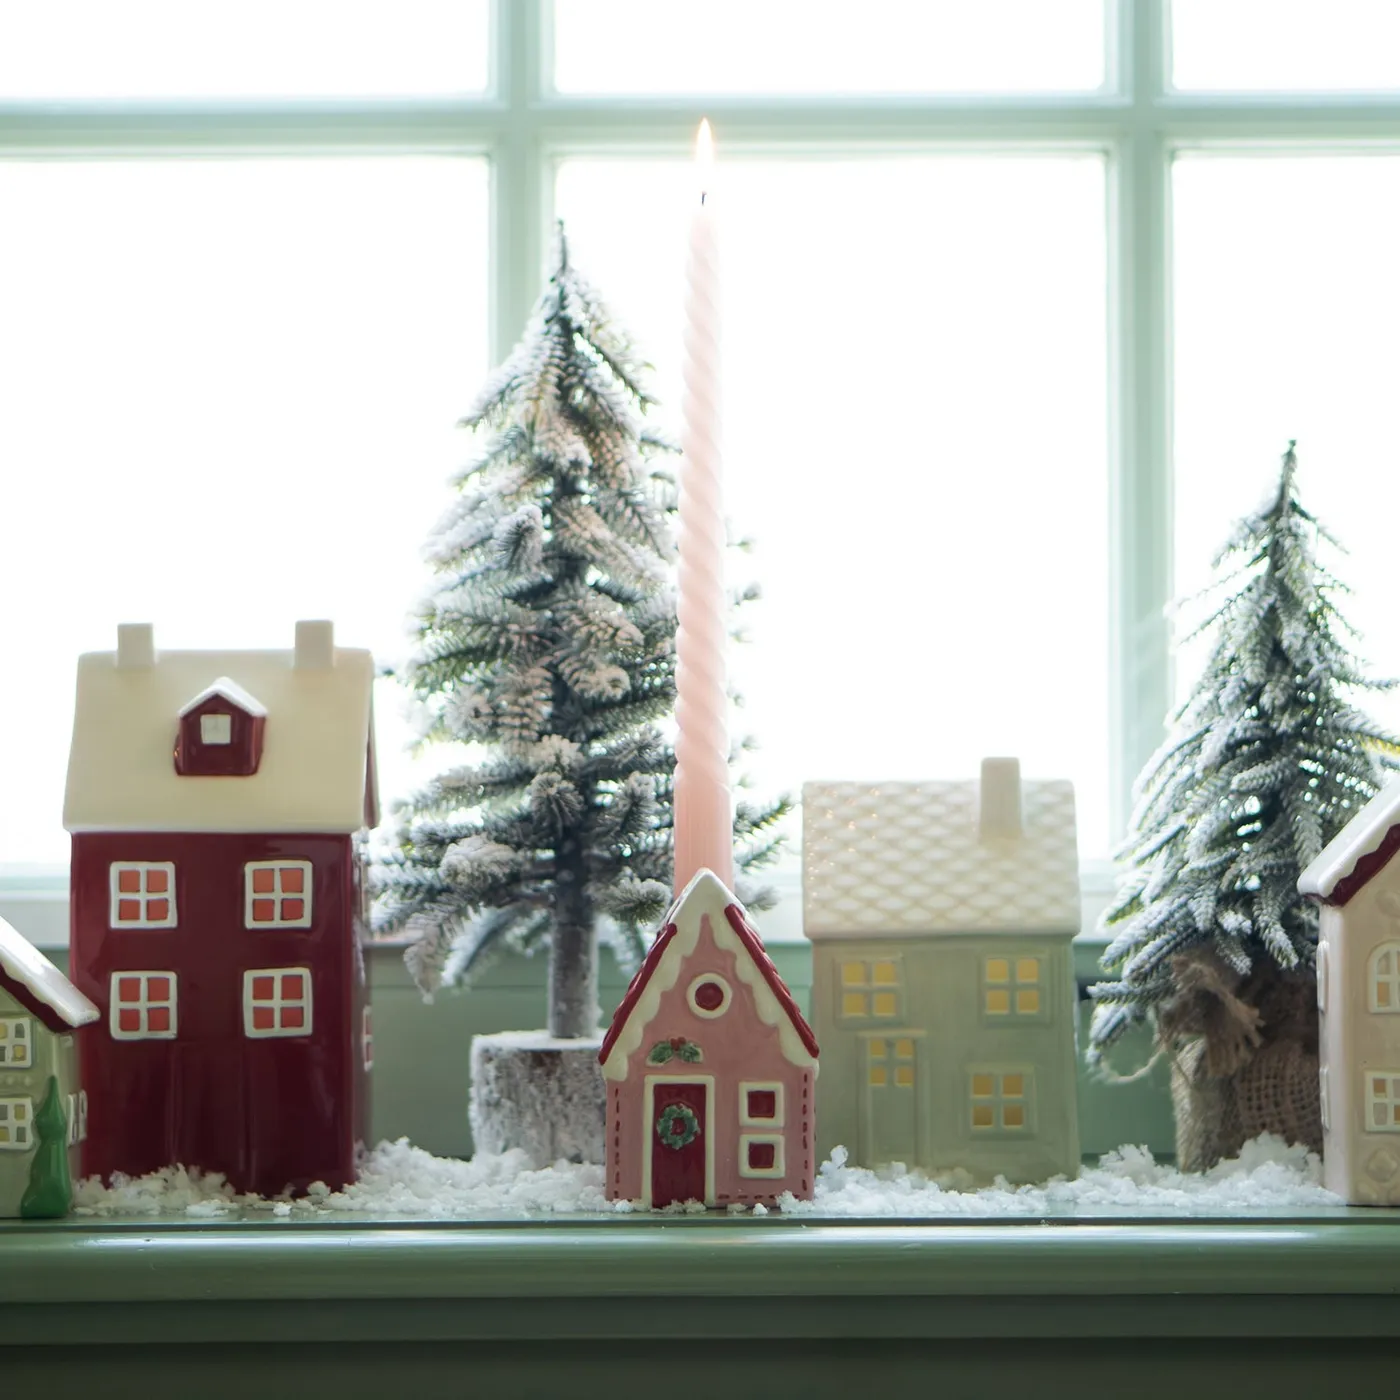
Windowsills usually run four to eight inches deep, so plan a single row and a shallow footprint — roughly 24 to 36 inches of width for a scene like this. It works in any room size, including apartments, because you’re using vertical space you already have. If your sill is under four inches deep, go with Idea #11 instead; the wood slice fits almost anywhere.
33. Bottle Brush Trees, Wreaths, and Layers of Faux Snow
This is the classic starter village, and almost all of it can be thrifted. Ceramic houses turn up at Goodwill constantly in early November, usually $3–$8 each. Bottle brush trees are about $12 for a dozen at Walmart, faux snow runs $8 a bag, and a $9 battery string of warm LEDs finishes it off. Realistic total for a display this dense: $45–$70, spread across two or three thrift runs.
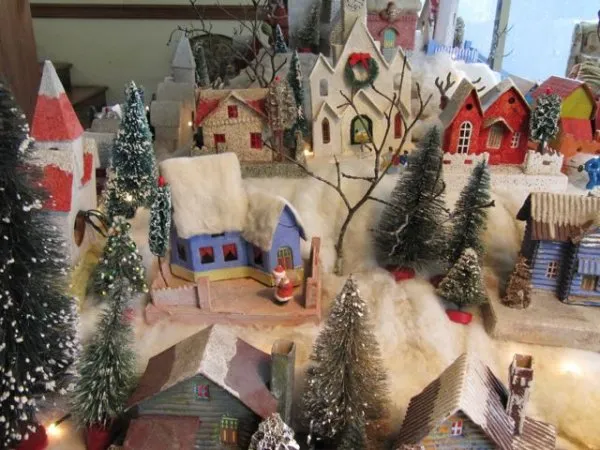
The reason dense, layered villages like this are getting saved in 2026 is that craft-store miniatures finally caught up to collector quality. Bottle brush trees, tiny wreaths, and pre-lit houses are all available at mass retailers now, which means the display that used to take ten years of careful collecting can be built in a single November. That accessibility is the entire trend.
Start With One House — the Rest Is Just Snow
You don’t need thirty buildings and a train to have a village worth saving to Pinterest. Start with one piece that makes you smile — a ceramic luminary, a glitter house, a wood slice with two bottle brush trees — and let it grow a piece or two each November. That’s how every display in this roundup actually happened.
📌 Pin your favorite idea now so it’s waiting for you when the holiday bins come out of the attic.